Are you ready to learn the secrets to successful seed harvesting? Look no further! This article will reveal 14 covert techniques that will revolutionize your seed collection process.
From timing and proper signs of seed maturation to selecting the right tools and preparing the harvesting area, we’ve got you covered.
Get ready to maximize your seed yield and avoid common mistakes. Let’s dive in and serve you the knowledge you need for a bountiful harvest!
Accurately identifying indicators of seed maturity is crucial for successful seed harvesting.
Proper clearing and preparation of the harvesting area create an ideal environment for seed growth.
Choosing and using appropriate tools, such as pruning shears and containers, ensures effective seed harvesting.
Proper seed storage techniques, including using airtight containers and monitoring storage conditions, maintain seed viability.
Timing for Seed Harvesting
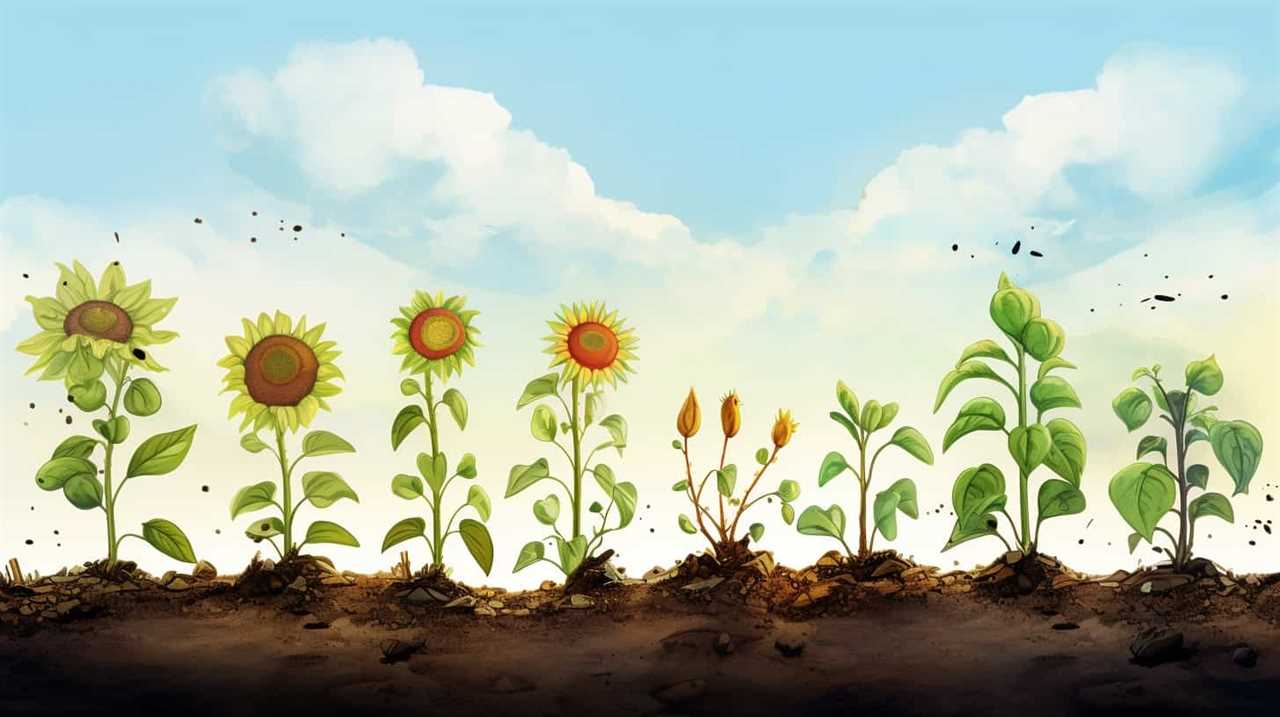
We determine the optimal timing for seed harvesting based on careful observation and evaluation. Proper seed maturation is crucial to ensure the highest quality and viability of the harvested seeds.
To identify mature seedlings, we rely on specific indicators such as color changes, seed size, and firmness. When the seeds reach their full size and acquire a characteristic color, usually different from the initial stage, it indicates their readiness for harvesting.
Additionally, gently pressing the seeds can help determine their firmness, signaling their maturity. It’s important to note that each plant species has its own specific signs of maturity, and experience and expertise play a critical role in accurately identifying these indicators.
By meticulously assessing these factors, we can ensure the optimal timing for seed harvesting, providing our audience with the best seeds for their needs.
Proper Seed Maturation Signs
Now let’s turn our attention to the proper signs of seed maturation.
Advertisement
It’s crucial for successful seed harvesting to accurately identify mature seedlings. To do this, we need to look for specific indicators of maturation, such as changes in color, texture, and size.
These signs will guide us in determining the optimal time to harvest our seeds and ensure their viability for future planting.
Maturation Indicators for Seeds
We frequently observe clear maturation indicators in seeds when we harvest them successfully. Proper seed maturation signs are crucial in determining the optimal time to harvest seeds. Seed maturity evaluation plays a significant role in seed harvesting techniques. It involves assessing various indicators that indicate the seed’s readiness for collection. To help you better understand these indicators, we have provided a table below:
Maturation Indicator
Description
Seed color
The color of the seed changes as it matures.
Seed hardness
Mature seeds are harder and more resistant to damage.
Seed weight
Fully mature seeds are heavier compared to immature ones.
Identifying Mature Seedlings
To identify mature seedlings with proper seed maturation signs, we need to carefully observe specific characteristics. Here are four key indicators to look for:
Leaf development: Mature seedlings will have fully developed leaves with distinct veins and a healthy green color. The leaves should be firm and not wilted or discolored.
Root system: Check the roots for a well-developed network. They should be evenly distributed and show signs of branching. Avoid seedlings with weak or sparse root systems, as they may struggle during transplantation.
Stem strength: Mature seedlings will have sturdy stems that can support their own weight. Gently touch the stem to assess its strength. Avoid seedlings with weak, spindly stems that may bend or break easily.
Overall vigor: Look for seedlings that exhibit overall vitality and vigor. They should be growing at a steady pace and show no signs of disease or pest damage.
Selecting the Right Harvesting Tools
In order to effectively harvest seeds, it’s essential to choose the appropriate tools. Proper seed collection techniques require the use of essential seed harvesting equipment.
The first tool to consider is a pair of sharp, clean pruning shears. These will allow for precise cutting of seed heads without causing damage to the plant.
Advertisement
Additionally, a sturdy, wide-brimmed hat and gloves are crucial to protect against sharp thorns or prickly seed pods.
A small container or bag with a secure closure is necessary to collect the harvested seeds, ensuring they don’t spill or get mixed with other seeds.
It’s also helpful to have a field guide or plant identification book on hand to accurately identify the plants and their specific seed harvesting requirements.
Preparing the Harvesting Area
After selecting the right harvesting tools, the next step is to prepare the harvesting area for optimal seed collection. To ensure the best results, follow these steps:
Clearing Techniques: Remove any debris, weeds, or unwanted vegetation from the area. This will create a clean and organized space for seed harvesting. Use rakes, shovels, or even a brush cutter to clear the area effectively.
Soil Preparation: Test the soil for its composition and fertility. Adjust the pH levels if necessary to create an ideal environment for seed growth. Add organic matter, such as compost or well-rotted manure, to improve soil structure and provide necessary nutrients.
Seed Viability Testing: Before harvesting, it’s crucial to determine the viability of the seeds. Conduct a germination test to identify the percentage of viable seeds. This will help you prioritize the collection of seeds with high germination rates.
Marking and Labeling: Clearly mark the areas where seeds are being harvested. Use labels or tags to identify the type of seeds collected and the date of collection. This will ensure easier organization and tracking of the harvested seeds.
Clearing Debris and Weeds
Before we begin clearing debris and weeds, we need to assess the area for any potential obstacles or challenges. This step is crucial to ensure a smooth and efficient process of clearing the planting area and preventing weed growth.
Advertisement
First, we must remove any large debris such as fallen tree branches or rocks that may hinder the seed harvesting process.
Next, we need to identify and eliminate any existing weeds in the area. This can be done by manually pulling them out or using weed-killing solutions. It’s important to be thorough and remove the weeds by their roots to prevent regrowth.
By clearing the debris and weeds, we create a clean and fertile ground for the seeds to grow.
Now that the planting area is ready, let’s move on to the techniques for gathering mature seeds.
Techniques for Gathering Mature Seeds
Now that we’ve cleared the debris and weeds, it’s important to discuss the techniques for gathering mature seeds.
Advertisement
Timing for seed harvesting is crucial, as harvesting too early or too late can result in poor seed quality.
Proper seed storage is another key aspect, as it helps maintain seed viability and prevent deterioration.
Lastly, maximizing seed viability involves using effective techniques such as drying, cleaning, and treating the seeds to ensure their long-term survival.
Timing for Seed Harvesting
We carefully observe the ripening stage of the plants to determine the ideal time for gathering mature seeds. To ensure optimal harvesting conditions, we follow these steps:
Monitoring: Regularly check the plants for signs of maturity, such as changes in color, texture, or seed pod formation.
Seed Dislodging: Gently shake the plants or use a soft brush to dislodge mature seeds from their pods or capsules.
Seed Viability Testing: Conduct a viability test to determine if the seeds are mature and capable of germination.
Harvesting: Collect the mature seeds by hand or using appropriate tools, ensuring minimal damage to the seeds and their surrounding structures.
By carefully timing our seed harvesting techniques, we maximize the chances of obtaining high-quality seeds.
Now that we’ve gathered mature seeds, it’s crucial to discuss proper seed storage to maintain their viability and longevity.
Advertisement
Proper Seed Storage
To ensure the longevity and viability of the harvested seeds, proper storage techniques are essential. Implementing effective seed storage techniques is crucial in preserving the quality of seeds for future use.
One method is to store seeds in a cool and dry environment, as moisture and heat can cause damage and reduce their viability. It’s recommended to use airtight containers or bags to prevent moisture from entering and to protect the seeds from pests and diseases.
Additionally, labeling each container with the seed variety and date of storage is important for easy identification and rotation. Regularly monitoring the storage conditions and checking for any signs of deterioration or mold is also necessary.
Maximizing Seed Viability
Implementing effective techniques for gathering mature seeds is essential in maximizing seed viability and ensuring a successful seed harvest. To maximize seed germination and improve seed quality, follow these steps:
Timing is crucial: Harvest seeds when they’re fully mature and have reached their optimal seed moisture content. This will maximize their viability and potential for successful germination.
Proper handling: Handle seeds with care to prevent damage. Avoid rough handling, excessive heat, and moisture, as these can reduce seed quality and viability.
Cleaning and drying: Remove any debris or chaff from the seeds and allow them to dry thoroughly before storage. This will help prevent mold or fungal growth and maintain seed viability.
Storage conditions: Store seeds in a cool, dry, and dark place to maintain their viability. Use airtight containers or seed bags to protect them from moisture and pests.
Removing Excess Plant Material
After carefully evaluating the crop, our team efficiently removes any excess plant material during the seed harvesting process. This step is crucial to ensure the quality and purity of the harvested seeds. Excess plant material can include leaves, stems, chaff, and debris, which can hinder seed viability and storage.
Advertisement
To remove excess plant material, we employ various seed cleaning techniques. First, we utilize a winnowing process, where we gently toss the harvested seeds in the air to separate them from lighter plant debris. The lighter debris is carried away by the wind, leaving the clean seeds behind. Additionally, we use sieves and screens to further separate any remaining plant material from the seeds.
In order to provide optimal seed storage methods, we carefully remove all excess plant material to prevent mold, pests, and moisture accumulation. This ensures that the harvested seeds remain viable and of high quality for future use.
Seed Cleaning Techniques
Seed Storage Methods
Winnowing
Proper packaging
Sieving
Temperature control
Screening
Moisture control
Pest prevention
Cleaning and Sorting Harvested Seeds
When it comes to cleaning harvested seeds, there are several effective techniques that can be employed. These techniques ensure that any remaining plant material or debris is removed, resulting in cleaner and more viable seeds.
Additionally, sorting the harvested seeds is of utmost importance as it allows for the removal of any damaged or immature seeds, ensuring that only the highest quality seeds are used for planting or storage.
Effective Seed Cleaning Techniques
To ensure the quality of our harvested seeds, we begin by carefully cleaning and sorting them using proven techniques. Effective seed cleaning is crucial for maintaining seed viability and optimizing seed storage. Here are four essential steps to follow:
Advertisement
Remove debris: Start by removing any plant material, rocks, or other foreign objects from the harvested seeds. This can be done by gently sifting the seeds through a fine-mesh sieve or using an air blower to blow away lighter debris.
Rinse the seeds: Fill a container with clean water and soak the seeds for a few minutes. Swirl them gently to dislodge any remaining dirt or impurities. Drain the water and repeat the rinsing process if necessary.
Dry the seeds: Spread the cleaned seeds on a clean, dry surface such as a paper towel or a fine-mesh screen. Allow them to air dry completely in a well-ventilated area, away from direct sunlight.
Sort the seeds: Once dry, carefully inspect the seeds for any damaged or diseased ones. Remove them to ensure only healthy seeds are stored.
Importance of Seed Sorting
After effectively cleaning the harvested seeds, we now move on to the vital task of sorting them to ensure only the highest quality seeds are retained for future use. Proper seed handling during the sorting process is crucial to maintain seed viability and maximize germination rates. Sorting involves separating the seeds based on their characteristics such as size, weight, and shape. This can be done manually or with the help of specialized equipment. Additionally, seed viability testing is an essential step in the sorting process. By conducting viability tests, we can determine the percentage of seeds that are capable of germination. This information helps us make informed decisions about which seeds to keep and which to discard, ensuring that only the best seeds are selected for planting.
Sorting Criteria
Suitable Seeds
Size
Seeds of uniform size and shape
Weight
Seeds with optimal weight for proper germination
Shape
Seeds with intact and undamaged outer seed coat
Color
Seeds with vibrant and characteristic color
Drying Methods for Chia Seeds
We prefer air-drying chia seeds to maintain their nutritional value and prevent mold growth. Here are four drying techniques to ensure seed viability:
Spread the harvested chia seeds on a clean, dry surface in a single layer. Avoid overcrowding to allow proper airflow.
Place the seeds in a well-ventilated area away from direct sunlight. This helps prevent heat damage and maintains the seeds’ delicate composition.
Stir the seeds periodically to promote even drying and prevent clumping. This ensures that all seeds are exposed to air and dried uniformly.
Monitor the moisture content of the seeds during drying. They should be completely dry before storing to prevent mold growth and maintain seed viability.
By following these drying techniques, you can preserve the nutritional value and longevity of your chia seeds.
Now, let’s move on to the next section about storing chia seeds for longevity.
Storing Chia Seeds for Longevity
Now that we’ve successfully dried our chia seeds, let’s move on to storing them for long-term viability. Proper seed storage techniques are essential to prevent seed spoilage and maintain seed quality.
To ensure the longevity of chia seeds, it’s important to store them in a cool and dark place. Exposing seeds to heat and light can lead to premature deterioration.
Advertisement
Additionally, it’s crucial to store seeds in airtight containers to protect them from moisture and pests. Consider using glass or metal containers with tight-fitting lids to create a barrier against external elements.
Labeling the containers with the date of storage can help keep track of seed freshness.
Protecting Seeds From Pests and Mold
Now that we’ve harvested our seeds, it’s crucial to protect them from pests and mold to ensure their viability for future planting.
To effectively control pests, we can employ strategies such as regular inspection, implementing physical barriers, and using organic insecticides.
Additionally, preventing seed mold involves maintaining proper humidity levels, providing adequate ventilation, and storing seeds in dry and cool conditions.
Advertisement
Lastly, we can employ various seed protection methods like using airtight containers, adding desiccants, and labeling and organizing our seeds for easy retrieval.
Pest Control Strategies
One essential step in successful seed harvesting is implementing effective pest control strategies to safeguard the seeds from pests and mold. To ensure the protection of seeds, the following methods and techniques can be employed:
Crop Rotation: Rotating crops helps disrupt the life cycle of pests by depriving them of their preferred host plants. This reduces the pest population and prevents them from infesting the seeds.
Biological Control: This method involves using natural enemies of pests, such as beneficial insects or nematodes, to control their population. These biological agents can be introduced into the garden to prey on pests and provide long-term protection for the seeds.
Physical Barriers: Using physical barriers like nets, screens, or row covers can prevent pests from reaching the seeds. These barriers act as a shield, blocking pests while still allowing air and sunlight to reach the plants.
Proper Storage: Storing harvested seeds in a cool, dry place with low humidity is crucial to prevent mold growth. Using airtight containers or sealed bags can also protect the seeds from pests like rodents and insects.
Preventing Seed Mold
To prevent seed mold and protect our seeds from pests and mold, we employ various techniques and strategies.
Preventing seed spoilage and seed rot is crucial for ensuring the success of our seed harvesting efforts. One effective method is to ensure proper storage conditions. Seeds should be stored in a cool, dry place with low humidity to prevent the growth of mold.
It’s also important to inspect the seeds regularly for any signs of mold or pest infestation. If any contaminated seeds are found, they should be removed immediately to prevent the spread of mold.
Advertisement
Additionally, proper ventilation is essential to maintain airflow and reduce moisture buildup, as this can also contribute to mold growth.
Seed Protection Methods
How can we effectively protect our seeds from pests and mold during the seed harvesting process? Here are some seed protection methods to ensure maximum seed yield and prevent seed mold:
Clean and dry seeds thoroughly: Remove any debris, weeds, or diseased seeds before storing. Ensure that the seeds are completely dry to prevent the growth of mold.
Store seeds in a cool and dry place: Use airtight containers or seed envelopes to store the seeds. Keep them in a cool and dry location to minimize the risk of pests and mold infestation.
Use natural pest deterrents: Consider using organic pest control methods such as neem oil or diatomaceous earth to repel pests without harming the seeds or the environment.
Regularly inspect and monitor stored seeds: Check the stored seeds for signs of mold or pests on a regular basis. Remove any affected seeds immediately to prevent further contamination.
By following these seed protection methods, you can safeguard your seeds from pests and mold, ensuring a higher seed yield.
Now, let’s move on to the next section, where we’ll discuss tips for maximizing seed yield.
Tips for Maximizing Seed Yield
As avid gardeners, we have discovered effective techniques to maximize seed yield. By implementing proper post-harvest seed treatment methods, we can significantly increase the quality and quantity of seeds harvested. Here are some tips to help you maximize your seed yield:
Advertisement
Techniques
Description
Benefits
Adequate Pollination
Ensure sufficient pollinators in your garden to enhance seed production.
Higher seed set
Proper Watering
Provide consistent moisture, especially during flowering and seed maturation.
Prevents seed abortion
Timely Harvest
Collect seeds at the right stage of maturity to ensure optimal viability.
High germination rates
Implementing these techniques will lead to a bountiful harvest of high-quality seeds. Now, let’s explore the process of harvesting chia seeds in different climates.
Harvesting Chia Seeds in Different Climates
In our experience, different climates can greatly impact the process of harvesting chia seeds. When considering climate, there are a few important factors to keep in mind:
Temperature: Chia plants thrive in moderate temperatures, preferably between 60-75°F (15-24°C). Extreme heat can cause the plants to wither and produce fewer seeds, while frost can damage or kill the plants altogether.
Rainfall: Chia seeds require a well-drained soil and prefer a dry climate. Excessive rainfall can lead to waterlogged soil, which can hinder seed production and increase the risk of diseases.
Humidity: High humidity levels can promote the growth of mold and fungi, which can be detrimental to chia plants. Adequate ventilation is crucial to maintaining optimal humidity levels and preventing seed damage.
Seed Dormancy: Chia seeds have a natural dormancy period which can vary depending on the climate. In warmer climates, the dormancy period may be shorter, while in colder climates, it may be longer. Understanding the seed dormancy period can help in determining the ideal time for harvesting.
Common Mistakes to Avoid in Seed Harvesting
To ensure a successful seed harvest, it’s essential that we avoid common mistakes by employing proper techniques and strategies.
One common mistake to avoid is timing mistakes. It’s crucial to harvest seeds at the right time to ensure optimal quality and viability. Harvesting too early may result in underdeveloped seeds, while harvesting too late may lead to seeds that have already dispersed. It’s important to carefully monitor the plants and observe the signs of maturity, such as changes in color, texture, or seed pod openings.
Another common mistake is improper storage techniques. Seeds should be stored in a cool, dry, and dark place to maintain their viability. Moisture, heat, and light can cause seeds to deteriorate quickly. Using airtight containers or seed packets and placing them in a refrigerator or freezer can help prolong their shelf life.
Advertisement
Frequently Asked Questions
How Do I Know if My Harvested Seeds Are Viable?
To determine seed viability, we can use various testing methods such as the germination test or tetrazolium staining. Factors affecting seed viability assessment include genetics, storage conditions, and maturity.
Can I Use the Same Harvesting Tools for Different Types of Seeds?
When it comes to seed harvesting, using different tools for different types of seeds is crucial. We need to determine what tools are best for each seed variety to ensure successful harvest and maintain seed viability.
Is It Necessary to Dry Chia Seeds Before Storing Them?
Yes, it is necessary to dry chia seeds before storing them. Proper moisture control is essential for successful seed storage. We recommend following best practices to ensure the longevity and quality of your chia seeds.
What Are Some Effective Ways to Protect Seeds From Pests and Mold?
To protect seeds from pests and mold, effective methods for seed storage include using airtight containers, keeping them in a cool and dry place, and adding desiccants. Additionally, proper cleaning and inspection of seeds can prevent contamination.
Are There Any Special Considerations for Harvesting Chia Seeds in Colder Climates?
When harvesting chia seeds in snowy conditions, it is important to consider storing them in freezing temperatures. Our methodical approach ensures the preservation of these valuable seeds, serving others with quality products.
Advertisement
Conclusion
In the world of seed harvesting, timing is everything. By carefully observing the signs of seed maturation and selecting the right tools, we can ensure a successful harvest.
Clearing debris and protecting the seeds from pests and mold are crucial steps in maximizing seed yield.
Whether we’re harvesting chia seeds in different climates or avoiding common mistakes, attention to detail is key.
Let’s embark on this methodical journey and watch our gardens bloom with the fruits of our labor.
Hi, I’m Sarah. I write for Turtle Tree Seeds, a news blog that loves food – all kinds of food. But especially bacon, chocolate, and veggies. We’re on a mission to show the world that you can enjoy all of those things, even kale and brussels sprouts. Because we believe that when it comes to food, there’s no such thing as guilty pleasures. Just pleasures.
Did you know that chia seeds are packed with essential nutrients and can be easily grown and harvested in your own backyard?
In this guide, we’ll show you how to successfully harvest chia seeds, step by step. Our evidence-based tips and practical advice will help you identify the perfect time to harvest, prepare the plants, and handpick the ripe seeds.
Plus, we’ll share expert tips on drying and storing your chia seeds for long-lasting freshness.
Let’s get started on your chia seed harvesting journey!
Chia seeds require warm temperatures between 70-80°F (21-27°C) for proper development.
Monitoring soil moisture levels is vital for chia seed maturity.
Gently touch the seeds to evaluate seed moisture, they should feel dry to the touch.
Harvest chia seeds when the plant is fully matured with dried flower heads and brown seeds.
Choosing the Right Time to Harvest
We carefully consider the optimal timing for chia seed harvest to ensure maximum yield and quality. Maximizing chia seed yield is crucial for those who desire to serve others with the best possible products.
Several factors affect chia seed maturity, and understanding these can help determine the right time for harvest. Firstly, temperature plays a significant role. Chia seeds require warm temperatures for proper development, typically between 70-80°F (21-27°C).
Additionally, the length of daylight hours affects the seed maturity process. Chia plants need a certain number of hours of daylight to reach full maturity.
Lastly, monitoring the moisture levels in the soil is vital. Chia plants thrive in well-drained soils, and excessive moisture can delay seed maturity.
By carefully considering these factors, we can ensure that we harvest chia seeds at the right time to maximize yield and quality.
Now, let’s move on to identifying signs of ripeness.
Advertisement
Identifying Signs of Ripeness
To determine the optimal time for harvesting chia seeds, let’s now delve into the process of identifying signs of ripeness. Here are some key indicators to help you evaluate the ripeness of your chia seeds:
Evaluating seed moisture: Gently touch the seeds and check for dryness. They should feel dry to the touch and not sticky or moist.
Testing seed coloration: Look for a uniform color throughout the seeds. They should appear dark brown or black, indicating full maturity.
Observing seed size: Mature chia seeds tend to be larger in size compared to immature ones. Look for plump and well-developed seeds.
Monitoring seed shedding: As the chia plant reaches maturity, the seeds will start to fall off the plant naturally. Keep an eye out for seed shedding as a sign that they’re ready for harvest.
By keeping these signs in mind, you’ll be able to confidently determine the ripeness of your chia seeds and harvest them at their peak freshness.
Happy harvesting!
Preparing the Plants for Harvesting
Once the signs of ripeness have been identified, it’s important to take the necessary steps to prepare the chia plants for harvesting. To ensure a successful harvest, proper soil preparation is essential.
Start by clearing any weeds or debris from the planting area and loosening the soil using a garden fork or tiller. Chia plants thrive in well-drained soil, so consider adding organic matter such as compost or aged manure to improve soil structure and fertility.
Advertisement
Additionally, pest control is crucial in maintaining healthy chia plants. Check for any signs of insect infestation or disease and take appropriate measures to address them. This may involve using natural pest control methods or organic insecticides. Regularly monitor the plants for any signs of damage and promptly address any issues that arise.
Harvesting Chia Seeds by Hand
Efficiency is key when it comes to harvesting chia seeds by hand. To maximize your chia seed yield during hand harvesting, consider the following tips:
Begin harvesting when the chia plant is fully matured, indicated by the dried flower heads and brown seeds.
Use a pair of sharp scissors or shears to cut the seed heads off the plant, making sure to leave a few inches of stem attached.
Place a collection container, such as a bucket or bag, underneath the plant to catch the falling seeds.
After harvesting, gently rub the seed heads between your hands to remove any remaining seeds.
While hand harvesting chia seeds may require more time and effort compared to mechanical harvesting, it offers several advantages. It allows for selective harvesting, where only ripe seed heads are collected, ensuring better seed quality. Additionally, hand harvesting allows for a more intimate connection with the plants and a deeper appreciation for the process.
Drying and Storing Chia Seeds
After hand harvesting chia seeds, the next step is to properly dry and store them. To ensure optimal drying, spread the seeds in a single layer on a clean, dry surface. Avoid direct sunlight and high humidity, as they can affect the quality of the seeds. Allow the seeds to air dry for about two to three days or until they’re completely dry and crispy.
Once dried, transfer the seeds to an airtight container to prevent moisture and pests from entering. For long term storage, store the container in a cool, dark place, such as a pantry or refrigerator. This will help maintain the freshness and nutritional value of the chia seeds for up to two years. Remember to label the container with the date of harvest to keep track of their freshness.
Frequently Asked Questions
Can Chia Seeds Be Harvested From Any Type of Chia Plant?
Yes, chia seeds can be harvested from any type of chia plant. However, there are challenges in chia seed cultivation, but the benefits of harvesting them at their peak ripeness outweigh the difficulties.
Advertisement
How Long Does It Take for Chia Seeds to Ripen From the Time of Flowering?
When is the best time to harvest chia seeds? How do you know if chia seeds are ready to be harvested? It usually takes about 2-3 weeks for chia seeds to ripen from the time of flowering.
Are There Any Specific Tools or Equipment Required for Harvesting Chia Seeds by Hand?
When harvesting chia seeds by hand, there are a few essential tools that can make the process easier. Some common tools include a mesh screen, a bucket, and a pair of gloves. These tools help prevent common mistakes and ensure successful harvesting techniques.
Can Chia Seeds Be Harvested in Multiple Stages, or Is It Best to Wait Until All Seeds Are Fully Ripened?
Yes, chia seeds can be harvested in multiple stages. However, it is best to wait until all seeds are fully ripened for optimal flavor and nutritional value. Patience and timing are key in successful chia seed harvesting.
What Is the Recommended Method for Storing Chia Seeds to Ensure Their Freshness and Longevity?
To ensure freshness and longevity, store chia seeds in an airtight container in a cool, dry place. This preserves their nutritional benefits and extends their shelf life. Incorporating chia seeds in recipes adds a healthy boost to your meals.
Conclusion
In conclusion, successfully harvesting chia seeds requires careful timing, keen observation, and proper preparation. By waiting for the right moment when the seeds are fully ripe and easily detach from the plant, you can ensure a bountiful harvest.
Advertisement
Gently handpicking the seeds and allowing them to dry thoroughly will guarantee their longevity. So, venture into your garden, let the vibrant chia plants guide you, and enjoy the satisfaction of a well-harvested crop.
Hi, I’m Sarah. I write for Turtle Tree Seeds, a news blog that loves food – all kinds of food. But especially bacon, chocolate, and veggies. We’re on a mission to show the world that you can enjoy all of those things, even kale and brussels sprouts. Because we believe that when it comes to food, there’s no such thing as guilty pleasures. Just pleasures.
Welcome to our detailed guide on growing chia seeds indoors! We are thrilled to help you learn how to successfully cultivate these healthy superfoods in the comfort of your own home.
With our step-by-step instructions and expert tips, you’ll learn everything from choosing the right chia seeds and creating the perfect growing environment to nurturing your seedlings and harvesting the bountiful rewards.
Get ready to embark on a journey of self-sufficiency and health as we serve you the knowledge you need to grow chia seeds like a pro.
Select high-quality chia seeds labeled as ‘sprouting’ or ‘germinating’
Create an ideal growing environment with optimal light conditions and temperature range
Regularly water and care for chia seedlings, addressing any issues promptly
Harvest and store chia seeds properly, and incorporate them into a healthy diet for their numerous benefits
Choosing the Right Chia Seeds
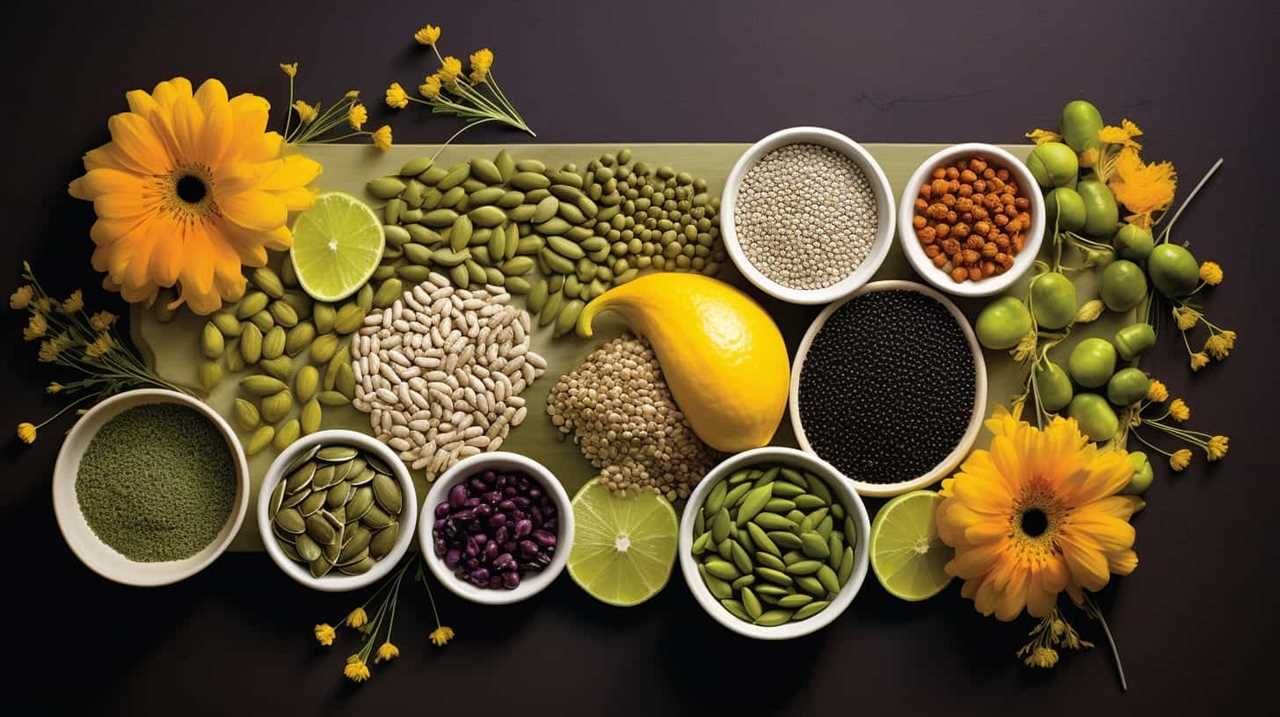
We need to select the appropriate quantity of chia seeds for optimal indoor growth. When selecting high quality chia seeds, it’s important to understand the various varieties available.
There are two main types of chia seeds: black and white. Black chia seeds are the most common variety and have a mild, nutty flavor. White chia seeds, on the other hand, are slightly milder in taste and have a more subtle flavor profile.
Advertisement
It’s recommended to choose organic chia seeds, as they’re grown without the use of harmful pesticides or synthetic fertilizers. Additionally, look for chia seeds that are labeled as ‘sprouting’ or ‘germinating,’ as these have a higher germination rate and are more likely to produce healthy plants.
Setting up the Ideal Growing Environment
To create the ideal growing environment for your chia seeds indoors, it’s important to consider factors such as temperature, lighting, and moisture levels.
Start by creating a DIY chia seed sprouting tray. You can easily make one by using a shallow container with drainage holes and filling it with a mixture of potting soil and compost.
Optimize light conditions by placing the tray near a south-facing window or using artificial grow lights. Chia seeds require about 12-14 hours of light per day for optimal growth.
Maintain a temperature range of 65-75°F (18-24°C) during the day and slightly cooler at night.
Advertisement
Make sure to keep the soil consistently moist, but not waterlogged, by watering regularly or using a spray bottle.
With the right environment, your chia seeds will thrive and provide you with nutritious sprouts.
Planting and Germinating Chia Seeds
Once you have set up the ideal growing environment for your chia seeds indoors, it’s time to move on to planting and germinating the seeds. To germinate chia seeds indoors, start by soaking them in water for about 20 minutes. Then, spread the seeds evenly on a damp paper towel or a seedling tray filled with moist seed-starting mix. Cover the seeds with another layer of moist paper towel or seed-starting mix, ensuring they aren’t exposed to direct sunlight. Maintain a consistent temperature of around 70-75°F (21-24°C) and keep the seeds moist by misting them regularly. Germination usually takes about 7-10 days.
If you encounter any issues during germination, such as mold growth or slow germination, it’s important to troubleshoot the problem. Ensure proper air circulation, avoid overwatering, and provide adequate light without direct exposure to intense sunlight. Additionally, check the quality of your seeds and consider using fresh ones if necessary.
Transitioning into the subsequent section about nurturing and caring for chia seedlings, it’s important to continue providing the right conditions for their growth.
Advertisement
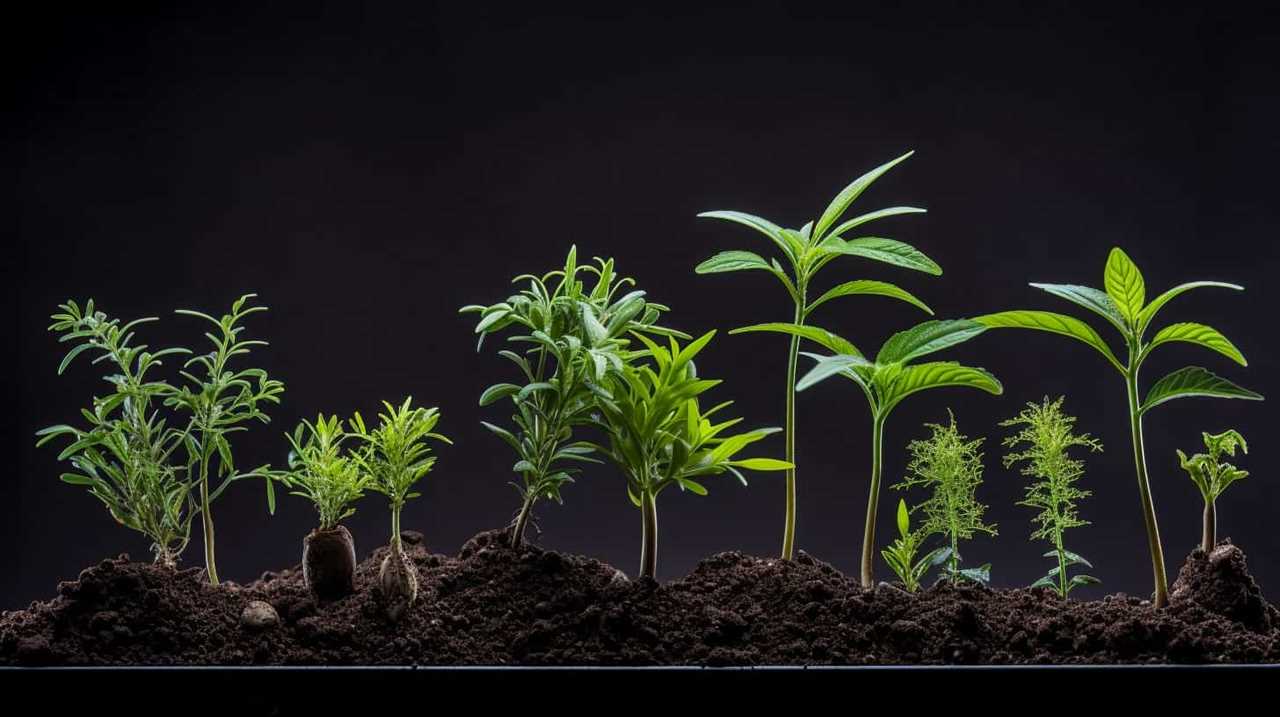
Nurturing and Caring for Chia Seedlings
After germination, it’s essential to provide optimal care and nourishment for your chia seedlings. A consistent watering schedule is crucial to ensure their healthy growth. Chia seedlings thrive in moist soil, so it’s important to keep the soil evenly moist but not waterlogged. Watering them once a day is typically sufficient, but adjustments may be needed based on the humidity levels in your environment.
It’s important to monitor the moisture level of the soil regularly and adjust the watering schedule accordingly. Overwatering can lead to root rot, while underwatering can cause stunted growth or wilting. Additionally, it’s important to troubleshoot common issues such as nutrient deficiencies, pests, or diseases that may affect the health of your chia seedlings. Regular inspection and prompt action can help ensure their successful growth.
Harvesting and Storing Chia Seeds
Continuing the care and nourishment of our chia seedlings, we now turn our attention to the important task of harvesting and storing the chia seeds.
Harvesting chia seeds is a straightforward process that requires a few simple steps. Here’s how you can do it:
Wait for the chia plant to fully mature. The seeds are ready for harvest when the flowers have dried and the seed heads have turned brown.
Gently cut the seed heads from the plant using pruning shears. Place the seed heads in a paper bag to catch any loose seeds that may fall during the process.
Processing chia seeds involves drying and cleaning them before storage. Here’s what you need to do:
Spread the harvested seed heads on a clean, dry surface and allow them to dry completely for a few days.
Once the seeds are dry, gently rub the seed heads between your hands to separate the seeds from the chaff.
Store the dried chia seeds in an airtight container in a cool, dark place to maintain their freshness.
Consuming chia seeds has numerous benefits, including their high fiber and omega-3 fatty acid content. They can be added to smoothies, yogurt, or baked goods for a nutritious boost.
Frequently Asked Questions
Can I Grow Chia Seeds Outdoors Instead of Indoors?
Growing chia seeds outdoors instead of indoors has its own benefits and drawbacks. While outdoor gardening allows for natural sunlight and more space, it also exposes the seeds to unpredictable weather conditions and pests.
Advertisement
How Long Does It Take for Chia Seeds to Germinate?
Chia seeds typically take 7-10 days to germinate. To speed up germination, soak the seeds in water for a few hours before planting. Ensure a warm temperature and moist soil for optimal growth.
Can I Use Regular Potting Soil to Grow Chia Seeds?
Yes, regular potting soil can be used for growing chia seeds. However, using specialized soil mixtures specifically designed for chia seeds can provide better results. These mixtures offer optimal drainage and nutrient content for successful chia seed growth.
Do I Need to Use Fertilizer When Growing Chia Seeds Indoors?
Yes, fertilizer is necessary for growing chia seeds indoors. While there are alternative growing methods, using fertilizer ensures optimal growth and nutrient uptake. It promotes healthier plants and higher yields, leading to a more successful chia seed cultivation experience.
What Are Some Common Pests or Diseases That Affect Chia Seedlings?
Common pests affecting chia seedlings include aphids, spider mites, and fungus gnats. Diseases that can affect chia seedlings include damping-off, root rot, and powdery mildew. Proper care, such as regular monitoring and maintaining optimal growing conditions, can help prevent and manage these issues.
Conclusion
In conclusion, growing chia seeds indoors can be a rewarding and fulfilling experience.
Advertisement
By choosing the right chia seeds, creating the ideal growing environment, and providing proper care, you can successfully cultivate chia seedlings.
Remember to harvest the seeds at the right time and store them properly to ensure their freshness and longevity.
With a little patience and dedication, you can enjoy the nutritional benefits of chia seeds right from the comfort of your own home.
Hi, I’m Sarah. I write for Turtle Tree Seeds, a news blog that loves food – all kinds of food. But especially bacon, chocolate, and veggies. We’re on a mission to show the world that you can enjoy all of those things, even kale and brussels sprouts. Because we believe that when it comes to food, there’s no such thing as guilty pleasures. Just pleasures.
Have you ever wondered **why collecting seeds is important**? Find out the surprising benefits and secrets about the value of gathering seeds in your daily life. Learn about the advantages of consuming seeds and how they can boost your health. Keep reading to discover how simple seeds can make a big difference in your well-being.
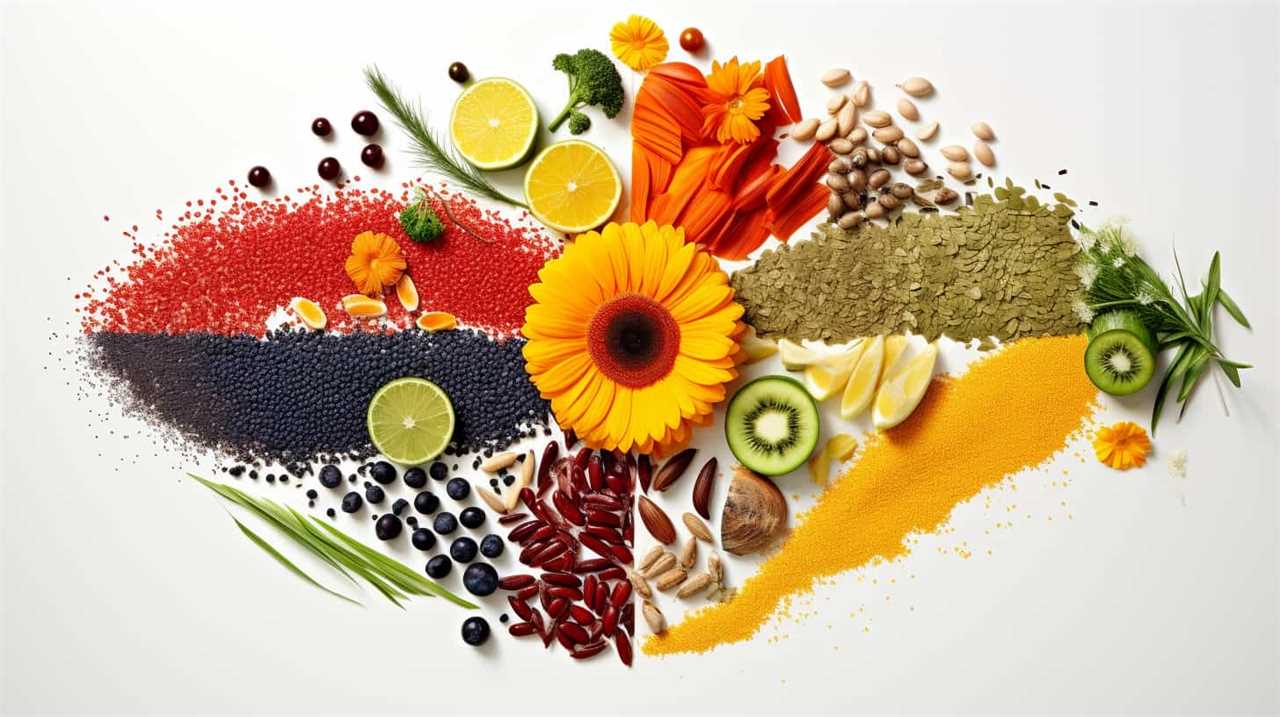
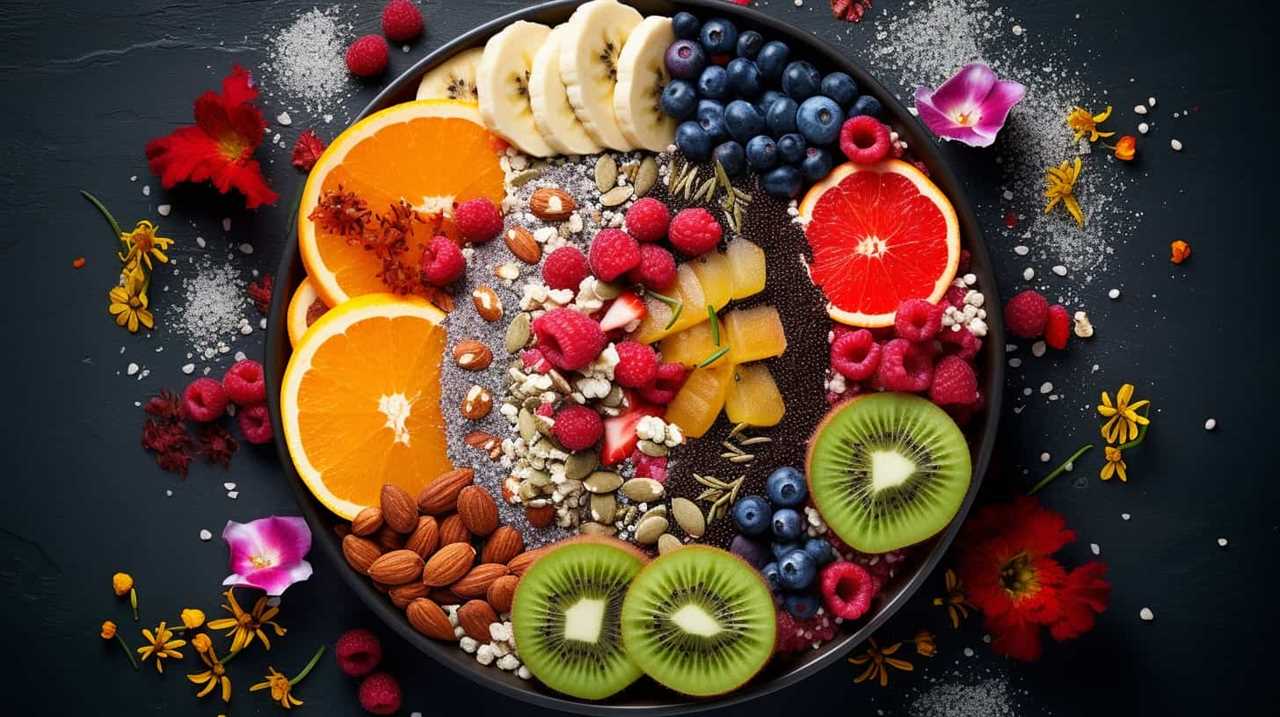
We often overlook the nutritional benefits of freshly harvested seeds. At our fingertips, we have a wealth of nutrients waiting to be unlocked.
In this article, we will explore the health benefits and nutritional value of harvesting chia seeds. We will also provide tips for growing and harvesting these seeds sustainably.
Join us as we discover delicious recipes that utilize the goodness of freshly harvested chia seeds. Let’s nourish ourselves and serve others through the power of seeds.
Harvesting seeds for consuming allows us to access the health benefits and nutritional value they provide.
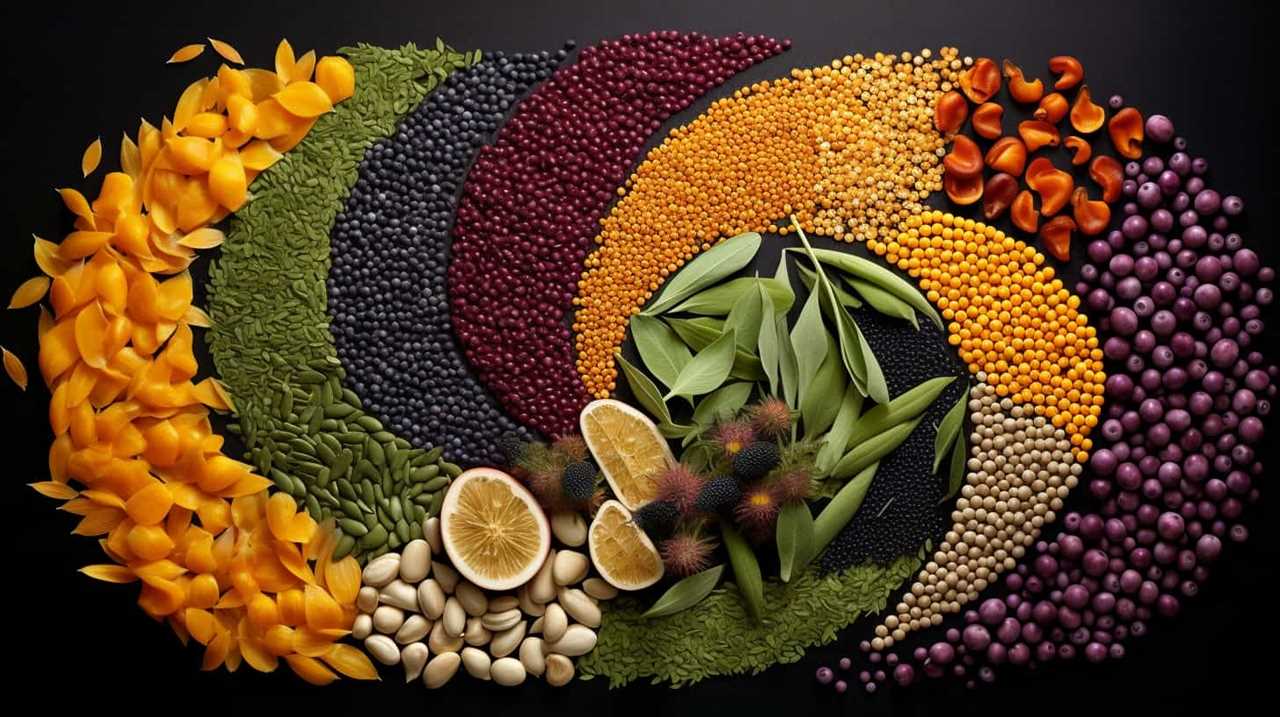
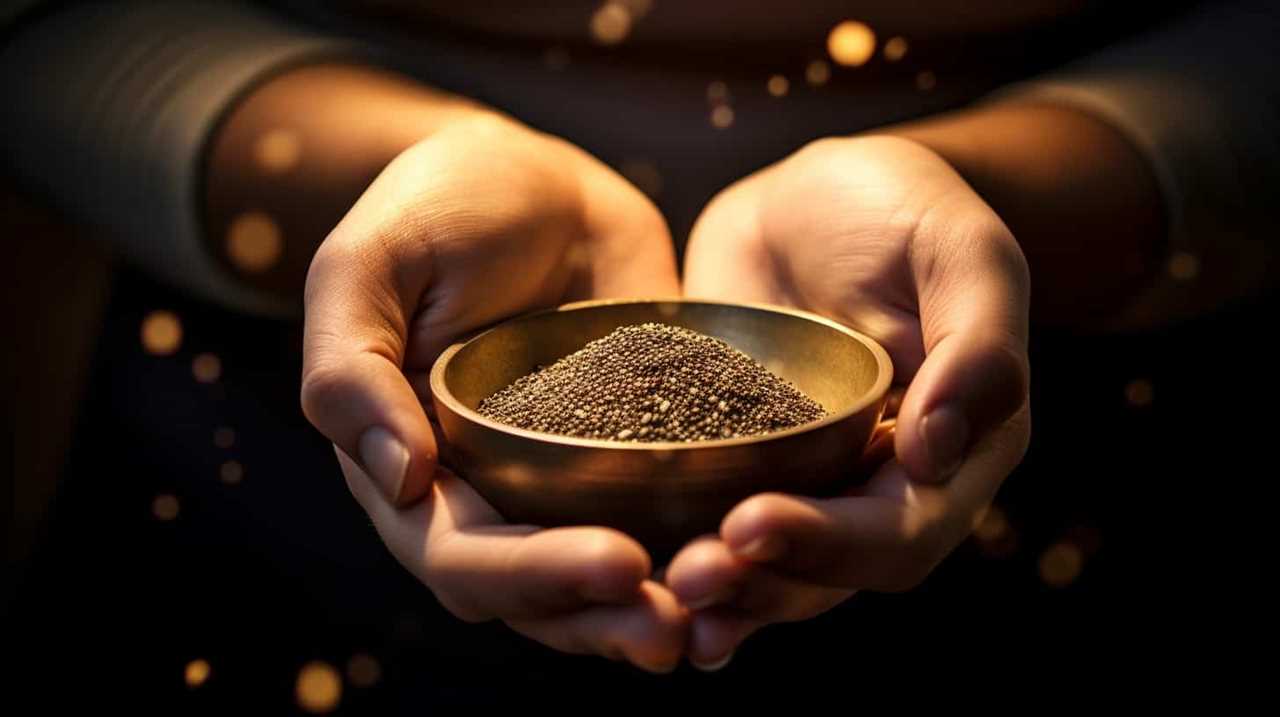
Seeds, such as chia seeds, are considered superfoods due to their impressive nutrient profile.
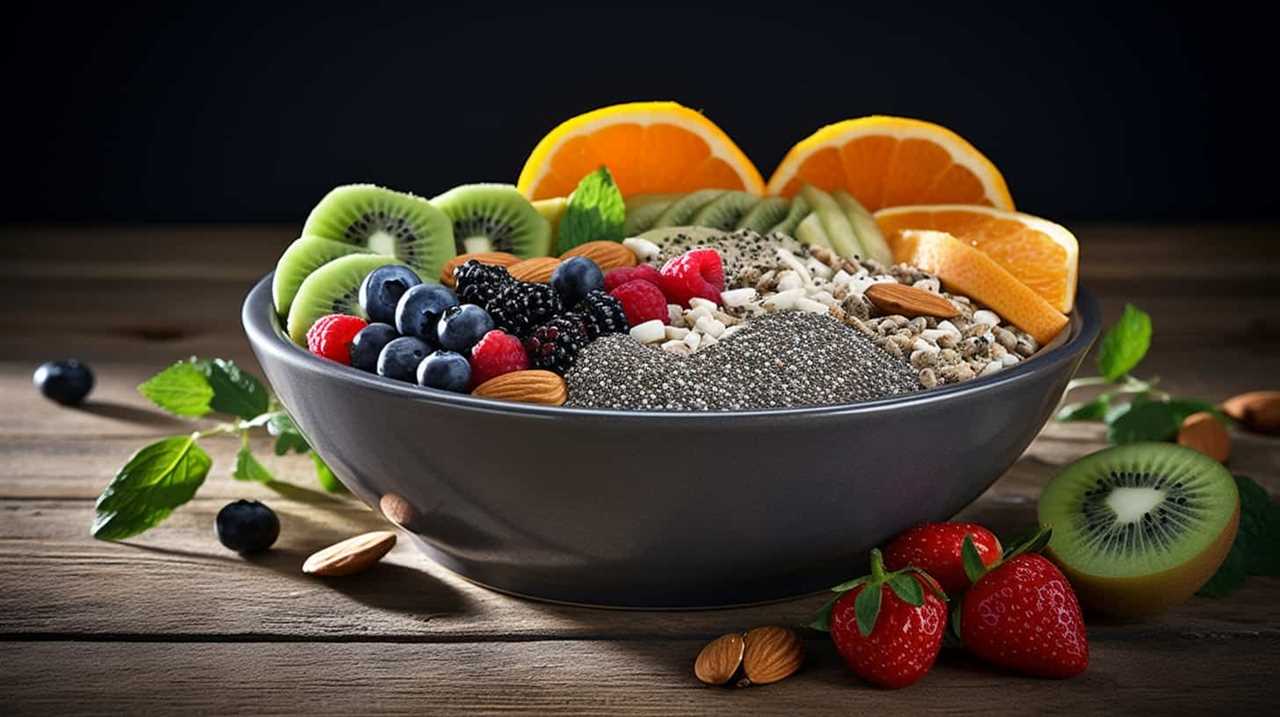
Chia seeds are rich in omega-3 fatty acids, antioxidants, fiber, protein, and various vitamins and minerals.
Regular consumption of chia seeds may promote overall well-being, including a healthy gut, brain health, reduced inflammation, and weight management.
Health Benefits of Harvesting Chia Seeds
The health benefits of harvesting chia seeds are numerous and can greatly contribute to our overall well-being. When it comes to potential side effects, chia seeds are generally safe for consumption. However, some individuals may experience digestive issues such as bloating or gas due to the high fiber content of chia seeds. It’s important to start with small portions and gradually increase intake to avoid discomfort.
In terms of nutritional benefits, chia seeds are considered a superfood due to their impressive nutrient profile. They’re rich in omega-3 fatty acids, antioxidants, fiber, protein, and various vitamins and minerals. Comparing chia seeds to other superfoods, they stand out for their high omega-3 content, which is essential for brain health and reducing inflammation. Chia seeds also provide a good amount of calcium, iron, and magnesium, which are important for bone health, energy production, and muscle function.
Understanding the potential side effects and the nutritional benefits of chia seeds sets the stage for exploring the exceptional nutritional value of freshly harvested chia seeds.
Nutritional Value of Freshly Harvested Chia Seeds
When harvesting seeds for consumption, we can benefit from the exceptional nutritional value of freshly harvested chia seeds. Chia seeds are packed with essential nutrients that can contribute to a balanced and healthy diet.
These tiny seeds are an excellent source of omega-3 fatty acids, fiber, protein, and antioxidants. Omega-3 fatty acids are known to support heart health and reduce inflammation. Fiber aids in digestion and helps regulate blood sugar levels. Protein is essential for muscle growth and repair. Antioxidants protect the body against free radicals and oxidative stress.
To preserve the nutritional benefits of chia seeds, it’s important to store them properly. Keep them in an airtight container in a cool, dry place away from direct sunlight. This will ensure the longevity of their nutritional value.
Advertisement
Tips for Growing and Harvesting Chia Seeds
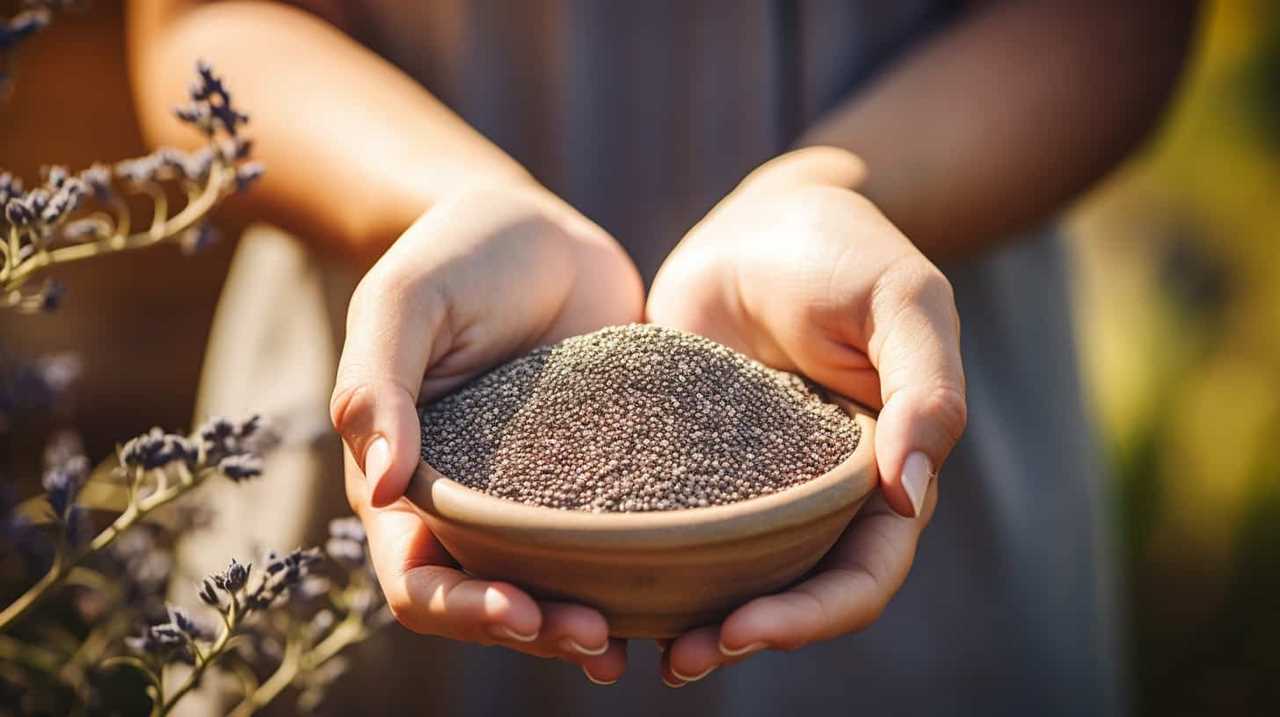
To successfully grow and harvest chia seeds, we recommend using a well-draining soil mixture.
Here are three essential tips for growing and harvesting chia seeds:
Sowing and Germination: Chia seeds should be sown in late spring or early summer, when the soil temperature reaches around 70°F (21°C). Prepare the soil by loosening it and removing any weeds. Sow the seeds evenly and cover them with a thin layer of soil. Water the area lightly, ensuring the soil remains consistently moist until germination occurs, which usually takes about two weeks.
Watering and Maintenance: Chia plants require regular watering but be cautious not to overwater, as excessive moisture can cause the seeds to rot. Water the plants when the top inch of soil feels dry. Additionally, removing weeds and providing support for the tall-growing chia plants is important for their optimal growth.
Harvesting and Storage: Chia seeds are ready for harvest when the plants have dried out and turned brown. Cut the plants at the base and hang them upside down in a well-ventilated area to allow the seeds to fully dry. Once dry, gently rub the seed heads to release the seeds. Store the harvested seeds in an airtight container in a cool, dry place to maintain their freshness and nutritional value.
Sustainable Farming Practices for Chia Seed Harvesting
Now let’s delve into sustainable farming practices for chia seed harvesting, focusing on our commitment to environmentally friendly cultivation methods.
Sustainable agriculture is at the core of our approach, as we strive to minimize our environmental impact while producing high-quality chia seeds. One key practice we implement is crop rotation, which helps to maintain soil health and prevent the buildup of pests and diseases.
We also prioritize water conservation by utilizing efficient irrigation systems and monitoring soil moisture levels. Additionally, we employ natural pest control methods, such as beneficial insects and companion planting, to reduce the need for harmful pesticides.
Advertisement
By implementing these sustainable farming practices, we can ensure the long-term viability of chia seed production while minimizing our impact on the environment.
Now, let’s move on to the next section to explore delicious recipes using freshly harvested chia seeds.
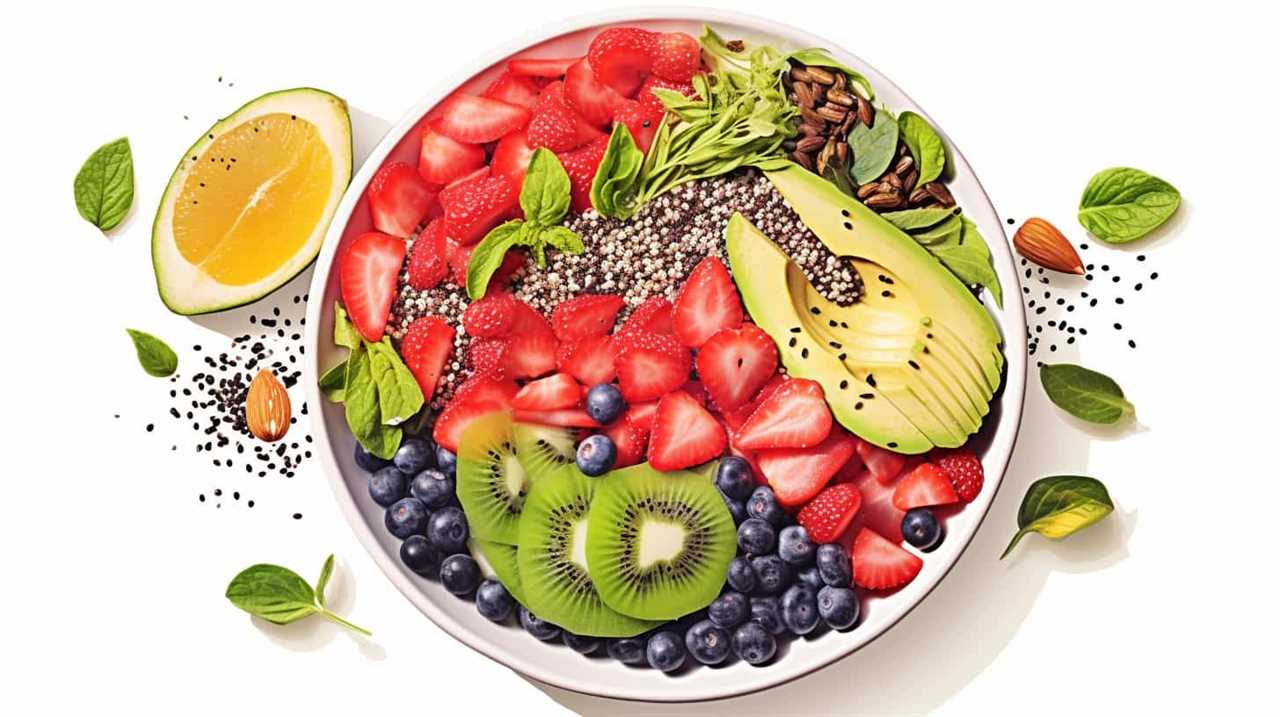
Delicious Recipes Using Freshly Harvested Chia Seeds
Let’s explore some mouthwatering recipes that feature our freshly harvested chia seeds. Chia seeds aren’t only nutritious but also incredibly versatile in the kitchen. Here are three delightful ways to incorporate them into your meals:
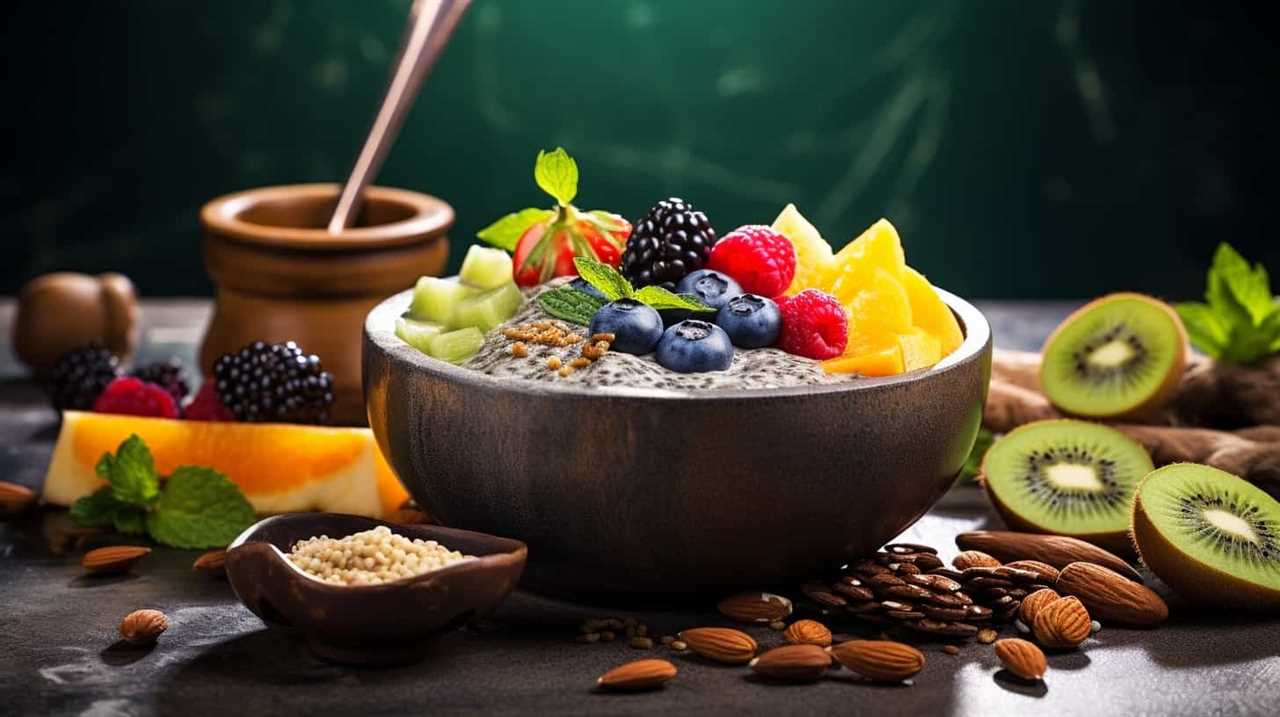
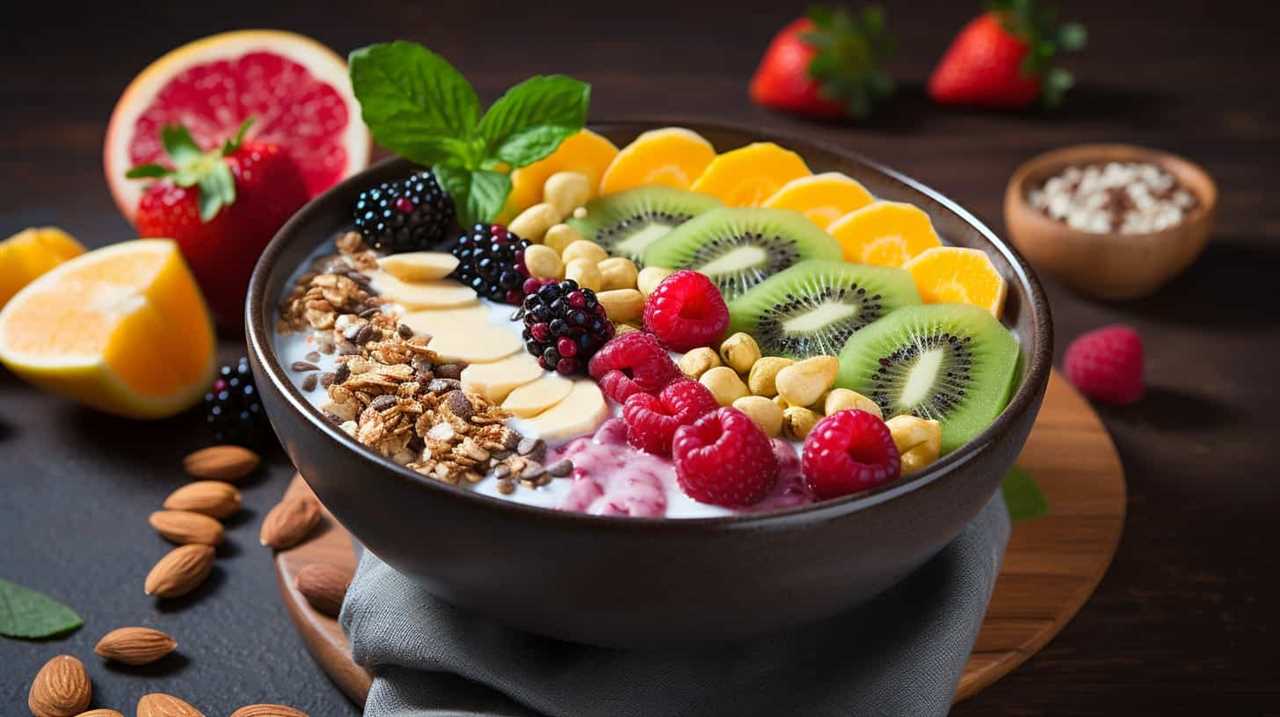
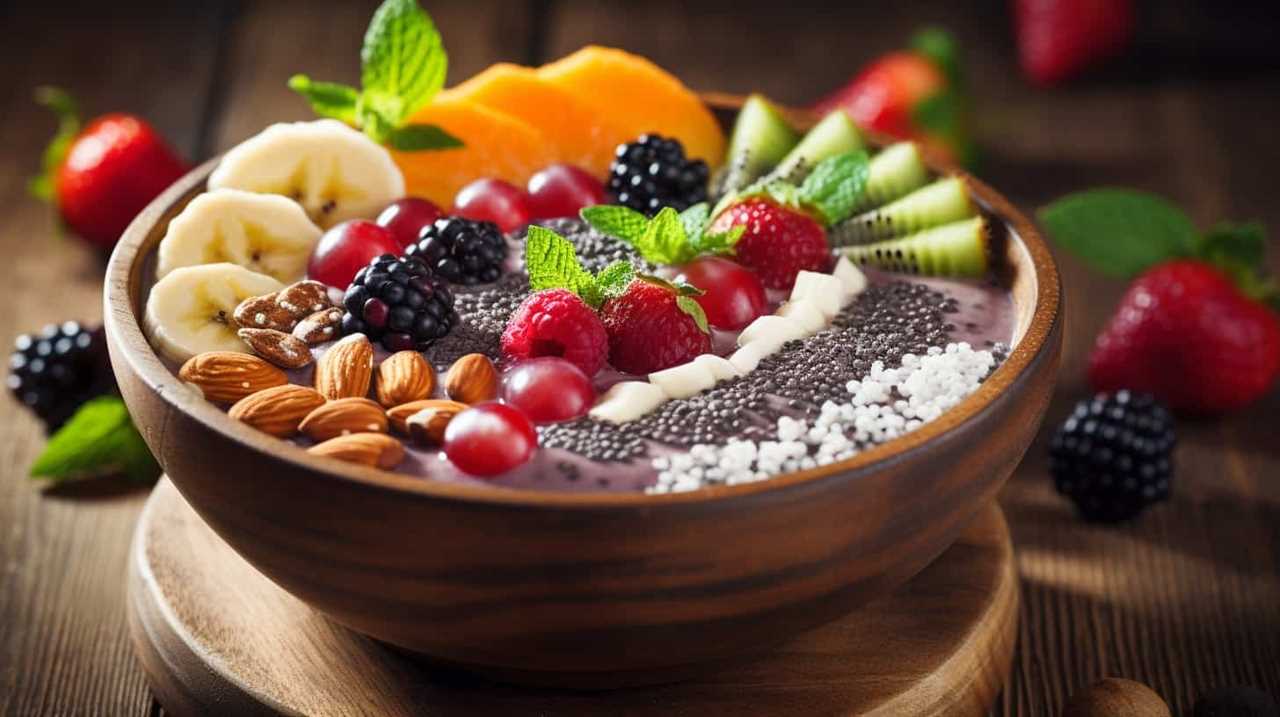
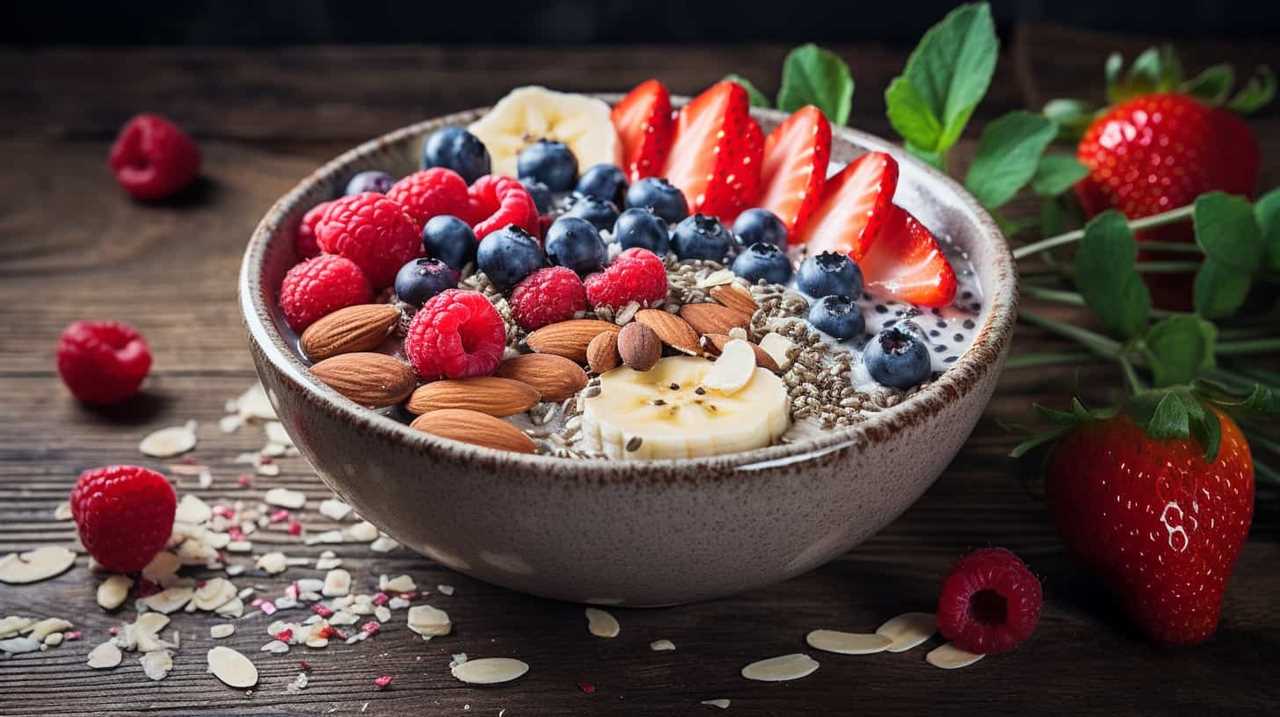
Chia Seed Smoothie Recipes: Start your day with a refreshing and nutrient-packed smoothie. Blend together a ripe banana, a handful of berries, a tablespoon of chia seeds, and your favorite plant-based milk. This smoothie will provide you with a boost of energy and keep you feeling satisfied throughout the morning.
Chia Seed Pudding Variations: For a delicious and healthy dessert, try making chia seed pudding. Combine chia seeds with your choice of milk, a touch of sweetener, and any desired flavorings such as vanilla extract or cocoa powder. Let it sit in the fridge overnight, and wake up to a creamy and indulgent treat.
Chia Seed Energy Balls: These bite-sized snacks are perfect for on-the-go or as a post-workout refuel. Mix together chia seeds, nut butter, honey, and your favorite nuts or dried fruits. Form into small balls and refrigerate until firm. Enjoy these nutritious treats whenever you need a quick pick-me-up.
With these recipes, you can enjoy the health benefits of chia seeds while satisfying your taste buds. So go ahead and start experimenting in the kitchen with these delightful chia seed creations.
Frequently Asked Questions
How Long Do Chia Seeds Stay Fresh After Harvesting?
Chia seeds can stay fresh for a long time after harvesting, making them ideal for long term storage. They offer numerous nutritional benefits, including high fiber, omega-3 fatty acids, and antioxidants.
Are There Any Potential Side Effects or Allergic Reactions From Consuming Freshly Harvested Chia Seeds?
Potential side effects or allergic reactions from consuming freshly harvested chia seeds are rare, but precautions should be taken. Comparing nutritional benefits, fresh seeds retain more nutrients and antioxidants than store-bought ones.
Advertisement
Can I Harvest Chia Seeds From Plants Grown Indoors?
Yes, we can harvest chia seeds from indoor plants. By providing proper care to indoor chia plants, we can ensure a good yield of seeds. Eating chia seeds offers numerous benefits, including improved digestion and heart health.
Are There Any Specific Tools or Equipment Needed for Harvesting Chia Seeds?
When harvesting chia seeds indoors, there are a few tools and equipment that can help. Tips for successful chia seed harvesting include using a fine-mesh sieve, a clean and dry container, and gently shaking the plants to release the seeds.
Can I Store Harvested Chia Seeds for a Long Period of Time?
Yes, we can store harvested chia seeds for a long time. However, consuming fresh chia seeds has numerous benefits. Storing them properly ensures their nutritional value and extends their shelf life.
Conclusion
In conclusion, the act of harvesting seeds for consumption is akin to reaping the fruits of our labor in the field of health. Just as a diligent farmer tends to their crops to ensure a bountiful harvest, we too can cultivate a healthier lifestyle by incorporating freshly harvested chia seeds into our diets.
With their abundant nutritional value and numerous health benefits, these tiny powerhouses can nourish our bodies and contribute to our overall well-being. So let’s embrace the art of seed harvesting and savor the rewards it brings.
Hi, I’m Sarah. I write for Turtle Tree Seeds, a news blog that loves food – all kinds of food. But especially bacon, chocolate, and veggies. We’re on a mission to show the world that you can enjoy all of those things, even kale and brussels sprouts. Because we believe that when it comes to food, there’s no such thing as guilty pleasures. Just pleasures.
Affiliate disclaimer As an affiliate, we may earn a commission from qualifying purchases. We get commissions for purchases made through links on this website from Amazon and other third parties.
We use cookies on our website to give you the most relevant experience by remembering your preferences and repeat visits. By clicking “Accept”, you consent to the use of ALL the cookies.
This website uses cookies to improve your experience while you navigate through the website. Out of these, the cookies that are categorized as necessary are stored on your browser as they are essential for the working of basic functionalities of the website. We also use third-party cookies that help us analyze and understand how you use this website. These cookies will be stored in your browser only with your consent. You also have the option to opt-out of these cookies. But opting out of some of these cookies may affect your browsing experience.
Necessary cookies are absolutely essential for the website to function properly. These cookies ensure basic functionalities and security features of the website, anonymously.
Cookie
Duration
Description
cookielawinfo-checkbox-analytics
11 months
This cookie is set by GDPR Cookie Consent plugin. The cookie is used to store the user consent for the cookies in the category "Analytics".
cookielawinfo-checkbox-functional
11 months
The cookie is set by GDPR cookie consent to record the user consent for the cookies in the category "Functional".
cookielawinfo-checkbox-necessary
11 months
This cookie is set by GDPR Cookie Consent plugin. The cookies is used to store the user consent for the cookies in the category "Necessary".
cookielawinfo-checkbox-others
11 months
This cookie is set by GDPR Cookie Consent plugin. The cookie is used to store the user consent for the cookies in the category "Other.
cookielawinfo-checkbox-performance
11 months
This cookie is set by GDPR Cookie Consent plugin. The cookie is used to store the user consent for the cookies in the category "Performance".
viewed_cookie_policy
11 months
The cookie is set by the GDPR Cookie Consent plugin and is used to store whether or not user has consented to the use of cookies. It does not store any personal data.
Functional cookies help to perform certain functionalities like sharing the content of the website on social media platforms, collect feedbacks, and other third-party features.
Performance cookies are used to understand and analyze the key performance indexes of the website which helps in delivering a better user experience for the visitors.
Analytical cookies are used to understand how visitors interact with the website. These cookies help provide information on metrics the number of visitors, bounce rate, traffic source, etc.
Advertisement cookies are used to provide visitors with relevant ads and marketing campaigns. These cookies track visitors across websites and collect information to provide customized ads.


 Health Risks and Allergies Related to Chia Seeds3 months ago


 Chia Seeds in Gluten-Free Diets2 months ago