Are you interested in cultivating your own super seeds at home? Wondering how to get started? Look no further! We have put together a guide on the 9 best techniques for growing your own super seeds right at home.
From selecting the right seeds to harvesting and storing them, we’ll guide you through every step of the way.
So, why rely on store-bought seeds when you can have the satisfaction of growing your own?
Let’s dive in and start this exciting journey together!
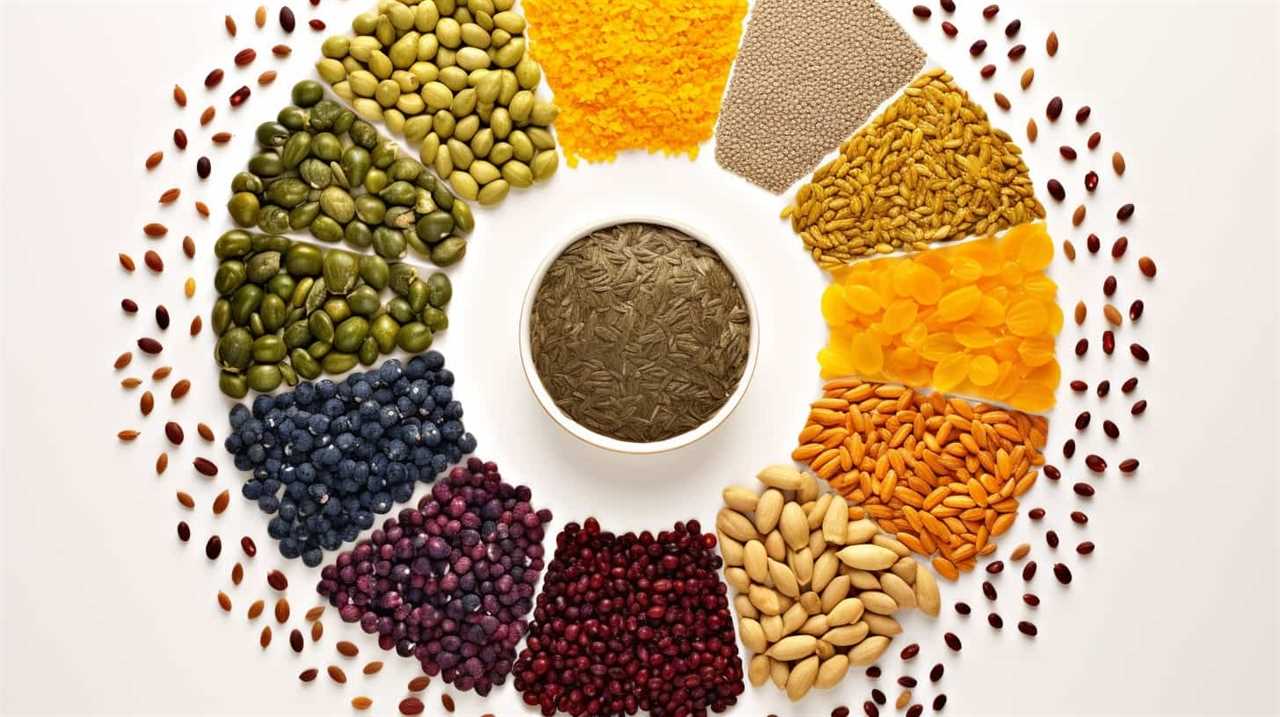
Prioritize quality and viability when selecting chia seeds for home cultivation
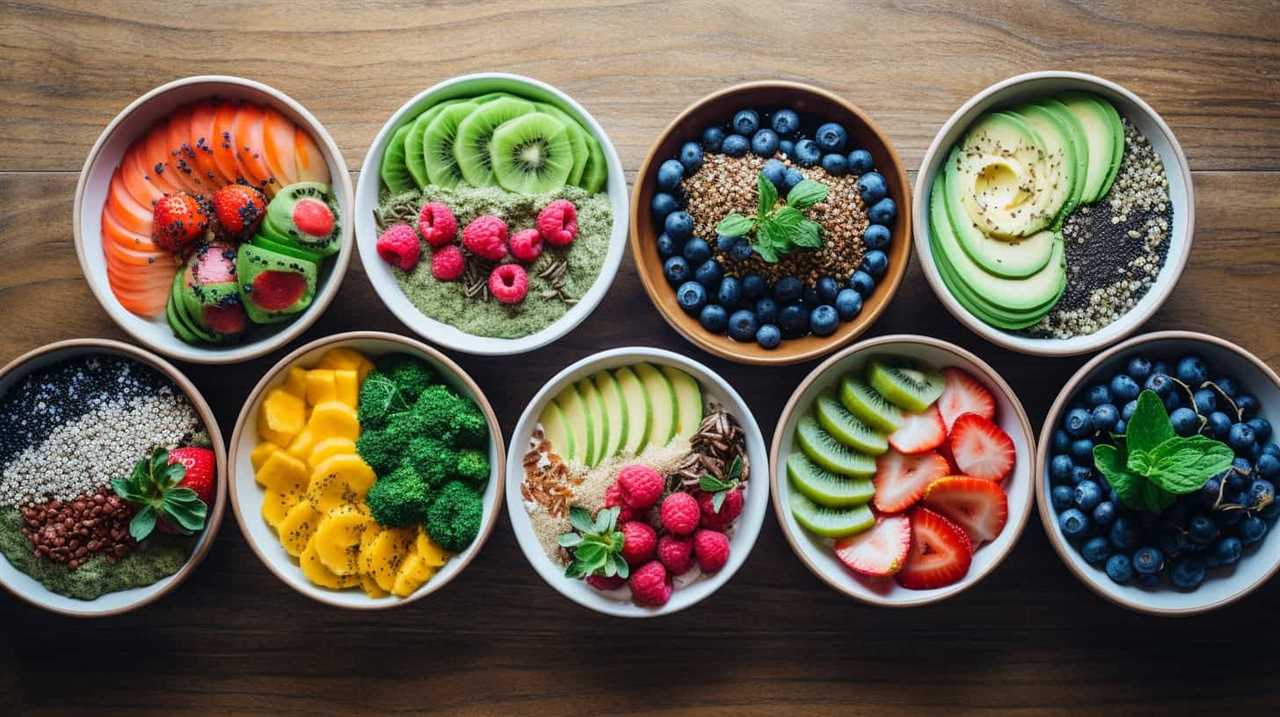
Incorporate chia seeds into various recipes for added health benefits
Enhance soil fertility through companion planting techniques
Regularly weed chia seedbeds to prevent weed growth
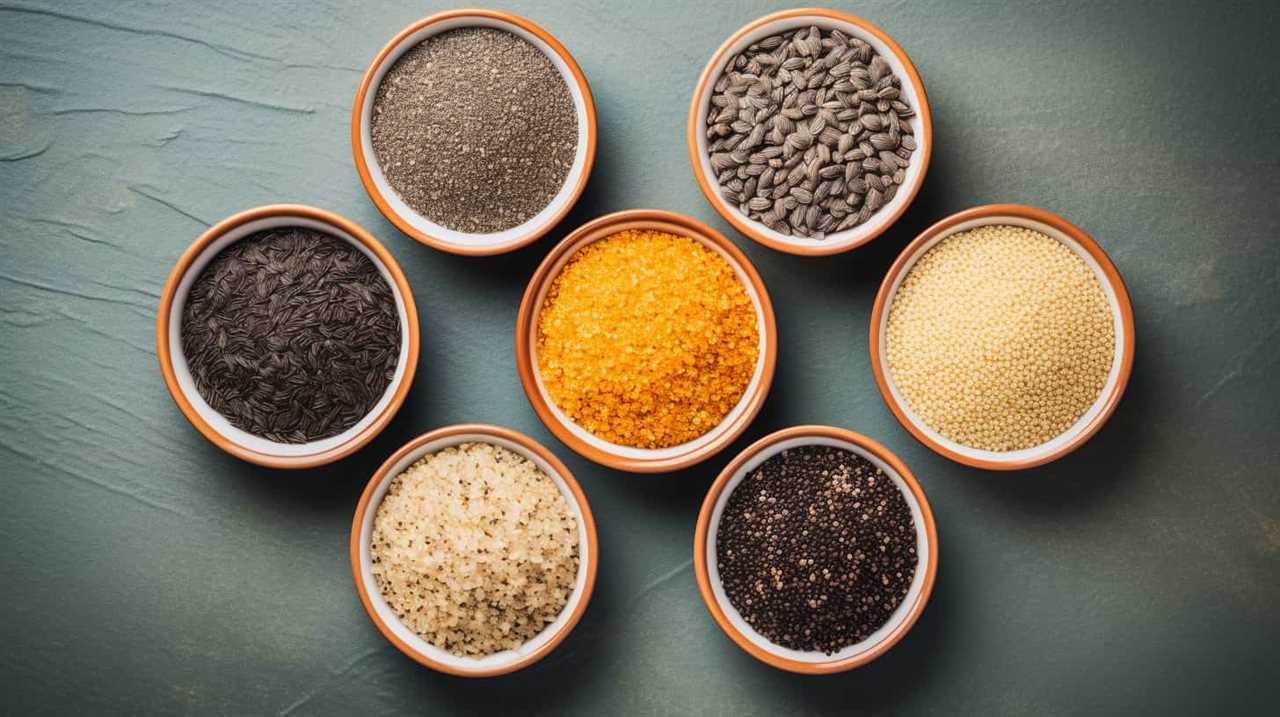
Selecting the Right Chia Seeds
When selecting chia seeds for home cultivation, we prioritize quality and viability. It’s essential to choose seeds that are organic, non-GMO, and free from any additives or preservatives. Look for reputable brands that specialize in chia seeds and have a good track record of providing high-quality products.
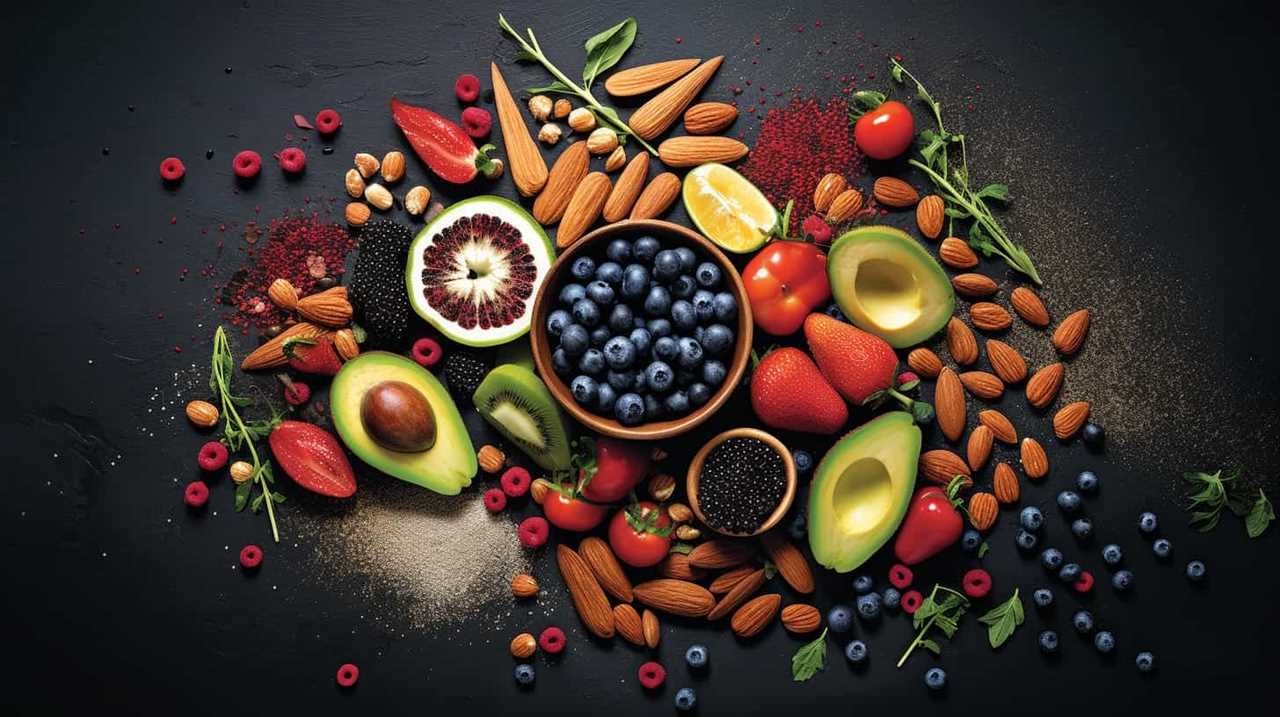
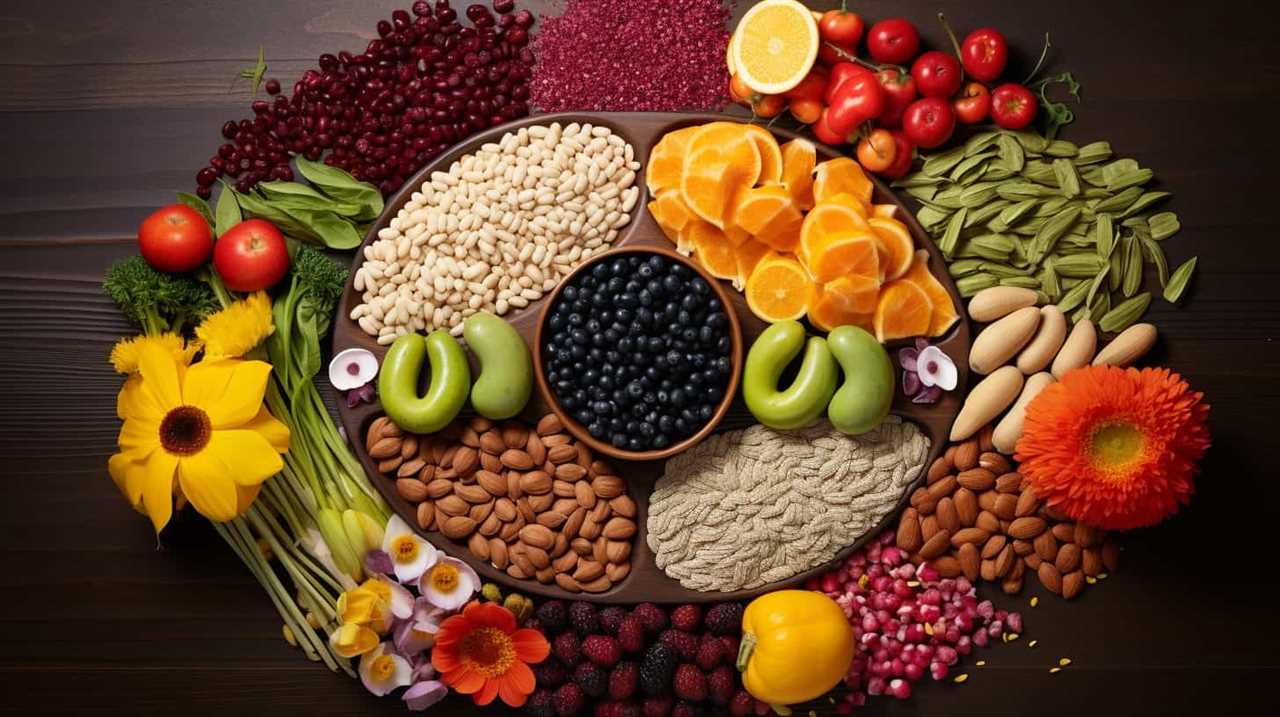
The benefits of chia seeds are well-known, as they’re rich in omega-3 fatty acids, fiber, and protein. These super seeds can help improve digestion, boost energy levels, and support heart health.
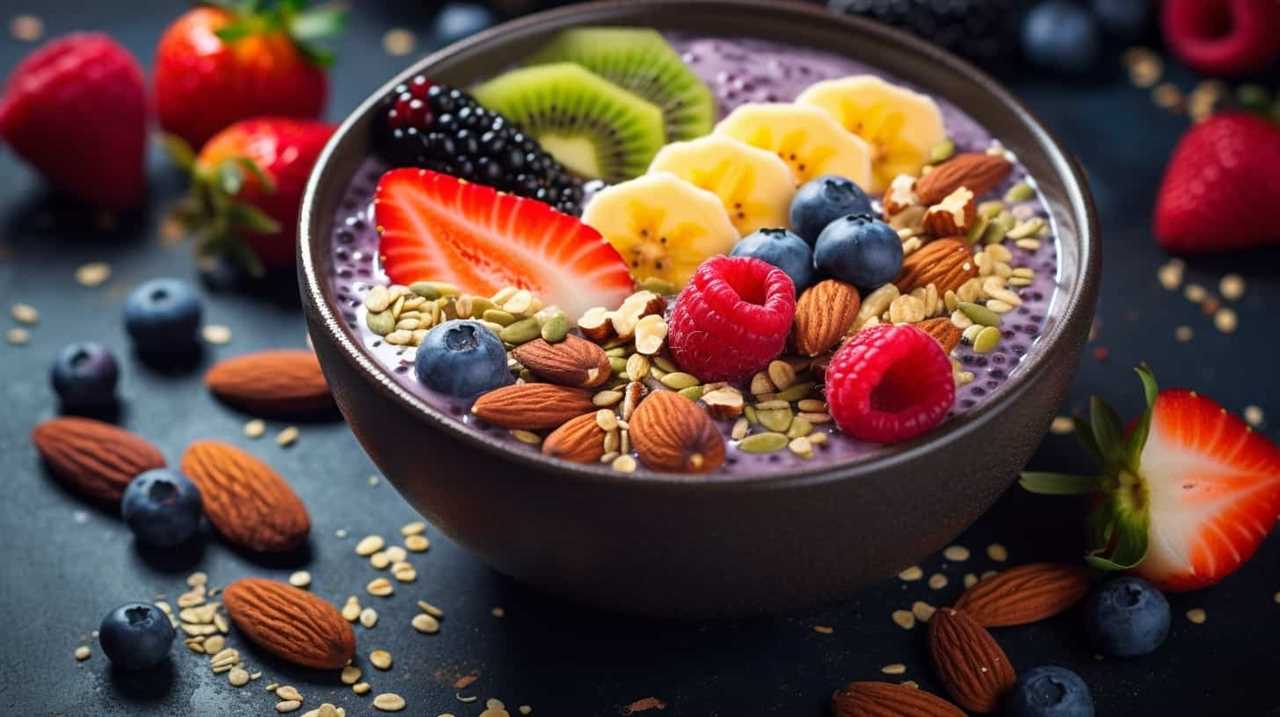
Additionally, chia seeds can be incorporated into a variety of recipes, such as smoothies, overnight oats, and homemade energy bars.
Preparing the Soil for Chia Seeds
To start cultivating chia seeds at home, we need to prepare the soil with proper nutrient content and pH levels.
Improving soil fertility is crucial for the successful growth of chia seeds. One way to achieve this is by incorporating organic matter, such as compost or well-rotted manure, into the soil. This will provide essential nutrients and improve the soil’s structure.
Additionally, adding a balanced fertilizer can help replenish any nutrient deficiencies. It’s also important to ensure that the soil has the right pH levels, ideally between 6 and 7. Testing the soil using a pH testing kit can help determine if any adjustments are needed.
Companion planting techniques can further enhance the soil’s fertility by pairing chia seeds with plants that complement each other’s nutrient needs. This symbiotic relationship can result in healthier and more productive chia plants.
Now that the soil is ready, let’s move on to planting the chia seeds indoors.
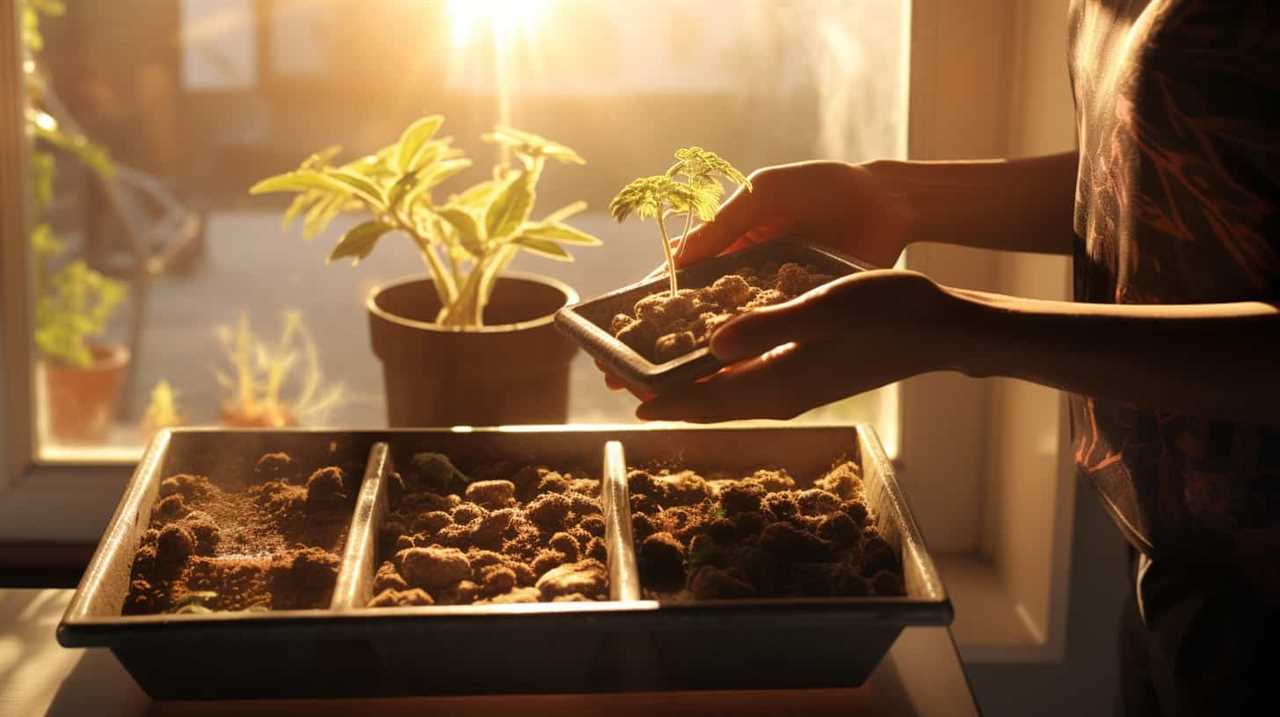
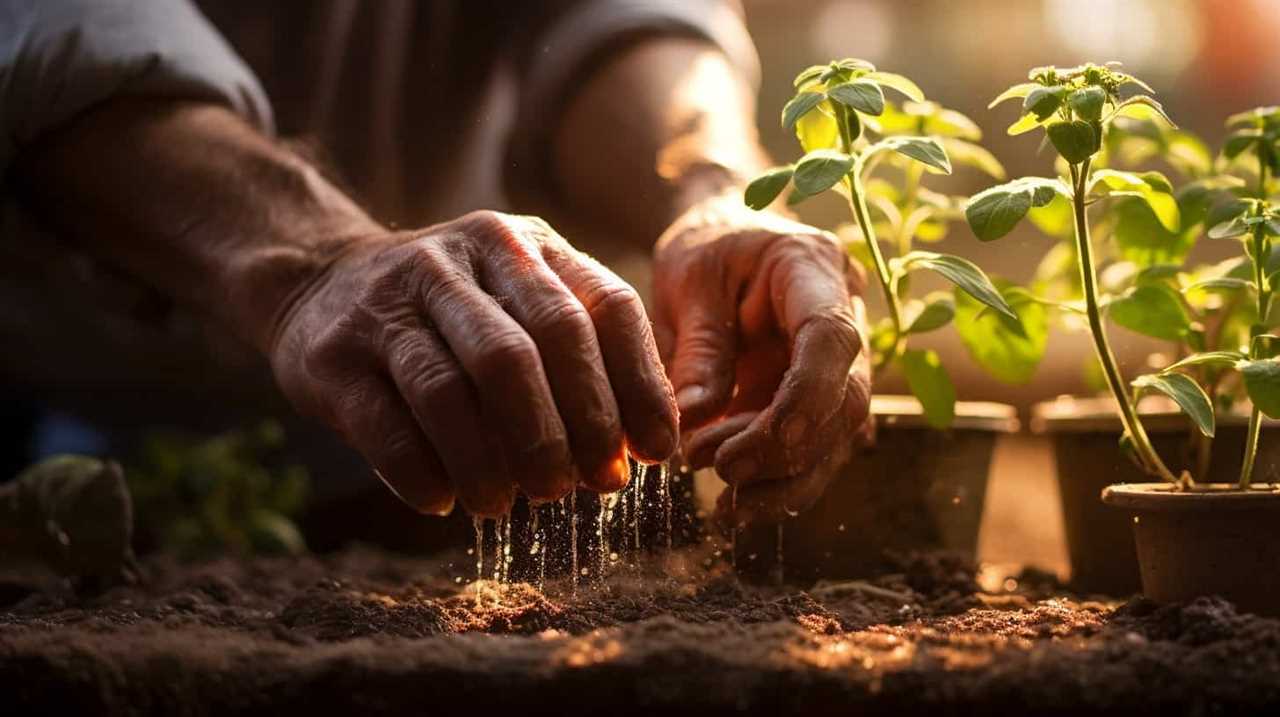
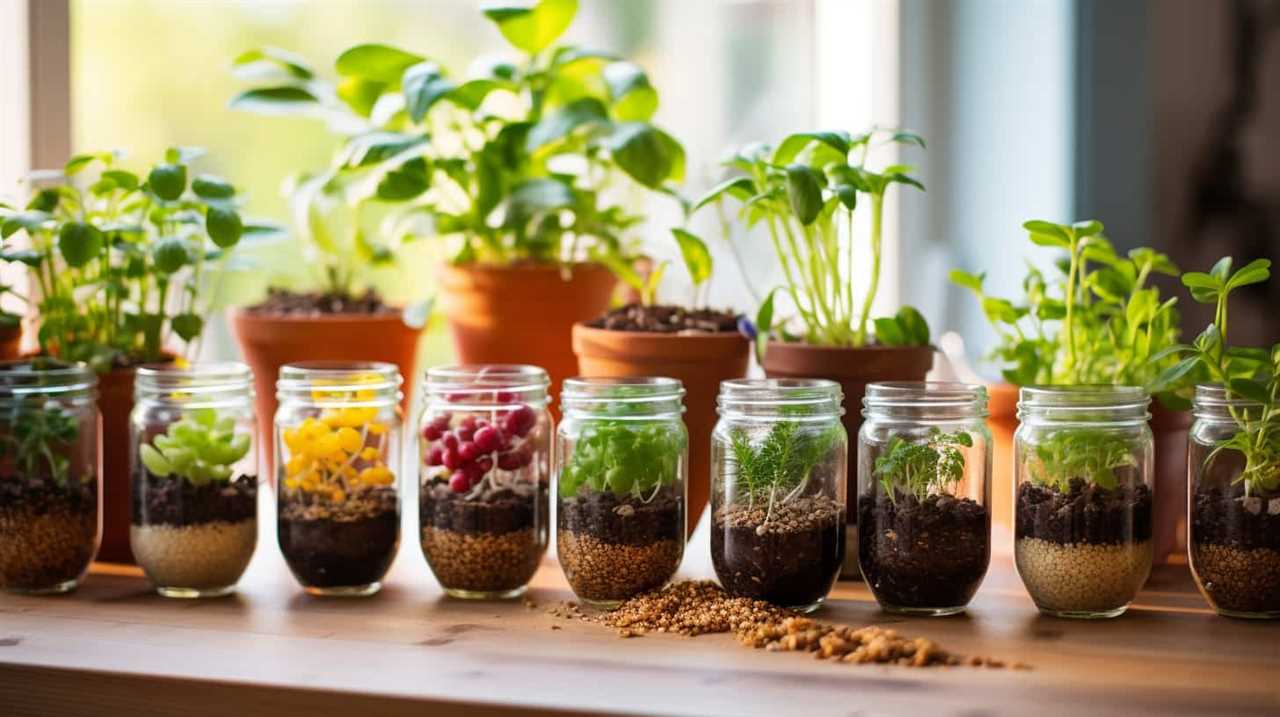
Planting Chia Seeds Indoors
Now let’s get started by planting our chia seeds indoors. Indoor gardening is a great way to grow your own chia seeds, as it allows you to have control over the growing conditions and ensure the best possible results.
To begin, fill a seed tray or pots with a well-draining potting mix. Make small indentations in the soil, about ¼ inch deep, and place the chia seeds in each indentation. Cover the seeds lightly with soil and water gently.
Place the tray or pots in a warm, well-lit area, preferably near a window. Keep the soil consistently moist, but avoid overwatering to prevent rot. As the seedlings emerge, provide them with 12-16 hours of light per day using a grow light or by placing them near a sunny window.
Regularly monitor the moisture levels and adjust watering accordingly. Remember, proper seedling care is essential for healthy growth, so make sure to provide adequate light, water, and nutrients.
Planting Chia Seeds Outdoors
For the best results, we recommend using a few handfuls of chia seeds when planting them outdoors. Planting chia seeds in containers is a great way to control their growth and ensure they receive adequate sunlight.
Here are three benefits of growing chia seeds outdoors:
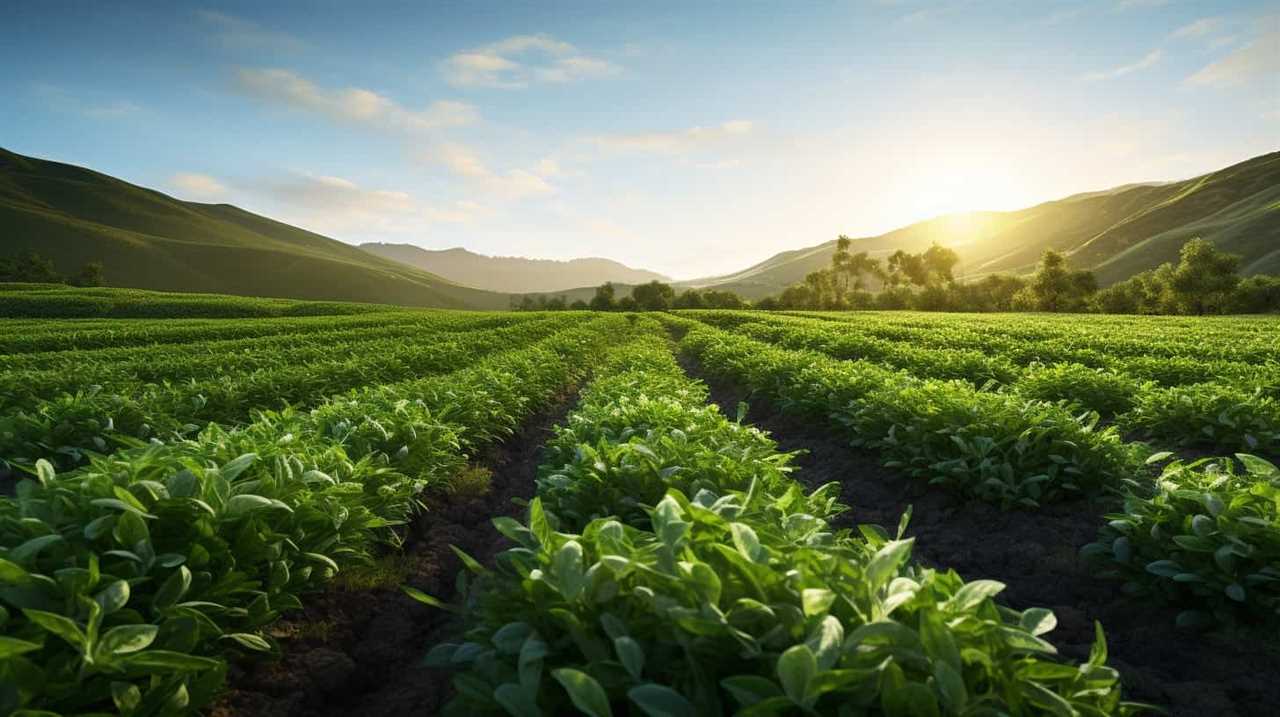
Increased sunlight exposure: Chia seeds thrive in full sunlight, and planting them outdoors allows them to receive the maximum amount of natural light needed for optimal growth.
Enhanced nutrient absorption: When chia seeds are grown outdoors, they can absorb nutrients from the soil more efficiently, resulting in healthier and more nutrient-rich plants.
Natural pollination: Outdoor planting allows chia seeds to attract bees and other pollinators, which play a crucial role in the fertilization process and ultimately increase the yield of your chia plants.
Watering and Fertilizing Chia Seeds
After planting chia seeds outdoors, our next step is to ensure proper watering and fertilizing for optimal growth. Watering is crucial during chia seed germination and seedling care. Chia seeds need consistent moisture to sprout and establish healthy roots. It is important to keep the soil evenly moist, but not waterlogged. Avoid overwatering, as it can lead to root rot. A good rule of thumb is to water when the top inch of soil feels dry. As for fertilizing, chia seeds are not heavy feeders. A balanced, organic fertilizer can be applied once a month during the growing season. Below is a table summarizing the watering and fertilizing guidelines for chia seeds:
Watering Guidelines
Fertilizing Guidelines
Keep soil evenly moist, but not waterlogged
Apply balanced organic fertilizer once a month
Water when top inch of soil feels dry
Avoid over-fertilizing
Ensure proper drainage to prevent root rot
Follow package instructions for application
Managing Pests and Diseases in Chia Seeds
To effectively manage pests and diseases in chia seeds, we need to implement preventive measures and regularly monitor plant health. Here are three practical steps to help prevent chia seed contamination and control chia seed weeds:
Clean and sanitize: Start by cleaning all gardening tools, pots, and containers before using them for chia seed cultivation. This helps prevent the spread of pests and diseases. Regularly sanitize the growing area to eliminate any potential sources of contamination.
Use organic pest control methods: Avoid using harsh chemicals that can be harmful to the environment and your health. Instead, opt for organic pest control methods such as introducing beneficial insects, using neem oil or insecticidal soap, and practicing companion planting to deter pests.
Practice proper weed management: Weeds can compete with chia plants for nutrients, water, and sunlight. Regularly weed the chia seedbeds to prevent weed growth. Mulching can also help suppress weed growth and conserve soil moisture.
Harvesting Chia Seeds at the Right Time
We carefully monitor the maturation of chia seeds to determine the optimal time for harvesting. Harvesting chia seeds at the right time is crucial to ensure maximum flavor, nutrition, and health benefits.
When the chia plant starts to flower, it’s a sign that the seeds are beginning to develop. As the flowers fade and the seed pods start to dry out, it’s time to start checking for seed maturity. Gently press the seeds between your fingers, and if they feel hard and crunchy, they’re ready for harvest.
To harvest, cut the seed heads and place them in a paper bag. Hang the bag in a warm, dry location to allow the seeds to fully dry. Once dried, gently remove the seeds from the seed heads and store them in an airtight container to maintain their freshness and nutritional value.
Harvesting chia seeds at the right time ensures that you can enjoy their numerous health benefits, including high fiber content, omega-3 fatty acids, and antioxidants.
Drying and Storing Chia Seeds
Once the chia seeds have been harvested, we need to carefully dry and store them to maintain their quality and freshness. Proper drying is crucial to prevent the growth of mold and bacteria.
Here are three effective drying methods for chia seeds:
Air drying: Spread the harvested seeds in a single layer on a clean, dry surface. Allow them to air dry for several days until they’re completely dry and brittle.
Dehydrator: If you have a dehydrator, set it to a low temperature (around 100°F) and spread the seeds evenly on the trays. Leave them to dehydrate for several hours until they’re crisp.
Oven drying: Preheat your oven to its lowest setting and spread the seeds on a baking sheet. Place them in the oven and leave the door slightly ajar to allow moisture to escape. Monitor the seeds closely and remove them once they’re dry.
Once dried, store the chia seeds in an airtight container in a cool, dark place. This will help preserve their nutritional benefits, including their high omega-3 fatty acid content and antioxidants. Remember to label the container with the harvest date for easy reference.
Saving Chia Seeds for Future Planting
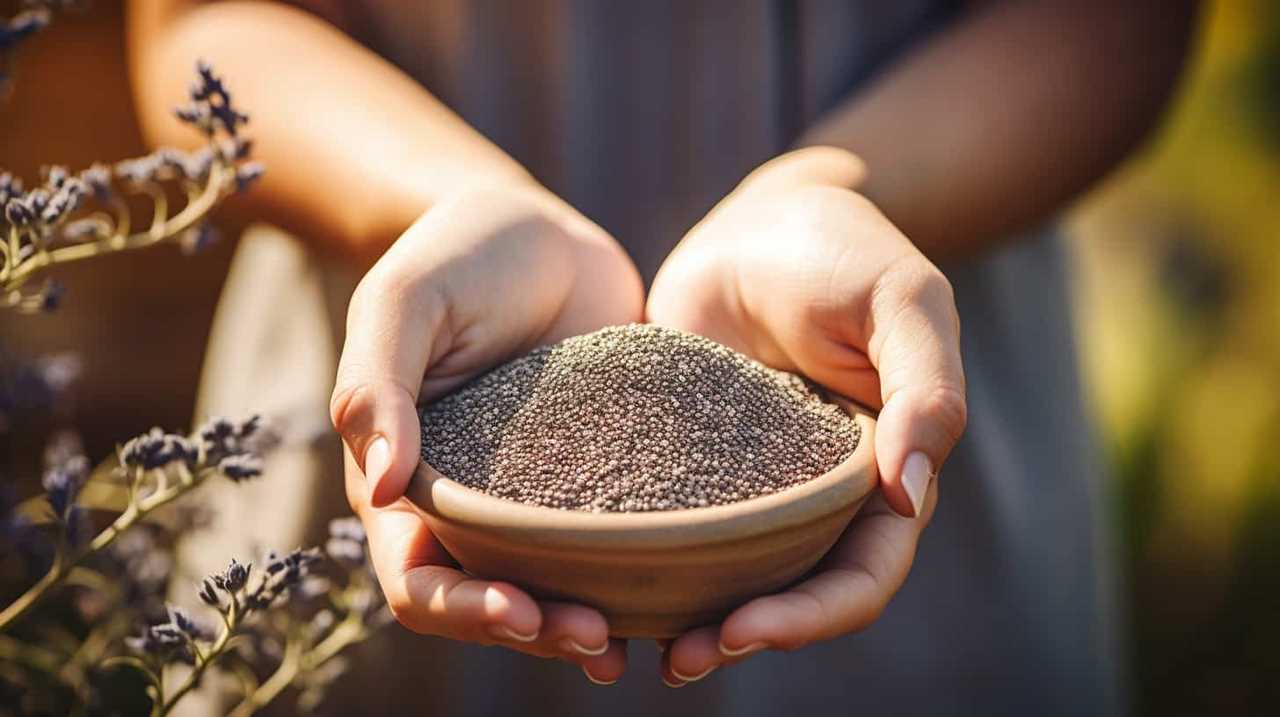
Chia seeds can be saved for future planting by regularly collecting and storing them from mature plants. Harvesting chia seeds is a simple process that can help you maintain a constant supply of these nutritious seeds.
When your chia plants have matured and the seed heads have turned brown and dry, you can start collecting the seeds. Cut the seed heads off the plant and place them in a paper bag. Gently shake the bag to release the seeds.
Store the seeds in an airtight container in a cool, dry place. By saving your own chia seeds, you can enjoy the benefits of these super seeds while also saving money.
Plus, you can use the saved seeds in a variety of delicious chia seed recipes to enhance the nutritional value of your meals.
Frequently Asked Questions
How Long Does It Take for Chia Seeds to Germinate?
Chia seeds typically take 7-14 days to germinate. In container gardening, ensure the seeds are evenly spaced and covered with a thin layer of soil. Keep the soil moist and provide plenty of sunlight for optimal growth.
Can Chia Seeds Be Grown in Containers or Do They Require a Garden?
Growing chia seeds in containers is a viable option with its own set of pros and cons. Our experience shows that successful cultivation requires proper soil, regular watering, and a sunny spot.
Are There Any Specific Temperature Requirements for Chia Seed Germination?
To ensure successful chia seed germination, it’s essential to provide the right temperature conditions. Optimal conditions for chia seed growth include a temperature range of 70-85°F (20-29°C). This will help promote healthy and vigorous seedlings.
What Is the Best Time of Year to Plant Chia Seeds Outdoors?
The best time of year to plant chia seeds outdoors is in the spring when the soil temperature reaches around 60°F. To ensure successful harvest, we recommend following these tips for maintaining chia plants indoors.
Can Chia Seeds Be Grown in Regions With Colder Climates?
Challenges of growing chia seeds in colder climates include shorter growing seasons and frost damage. However, with the right tips, like starting seeds indoors and using grow lights, we can successfully cultivate chia seeds year-round.
Conclusion
In conclusion, by following these 9 methods for cultivating homegrown super seeds, you can enjoy the satisfaction of growing your own chia seeds.
From selecting the right seeds to harvesting and storing them, this practical guide provides detailed information to help you succeed.
Coincidentally, as you watch your chia seeds grow and thrive, you may also experience a sense of joy and fulfillment, knowing that you have played a part in nourishing both your body and soul.
Hi, I’m Sarah. I write for Turtle Tree Seeds, a news blog that loves food – all kinds of food. But especially bacon, chocolate, and veggies. We’re on a mission to show the world that you can enjoy all of those things, even kale and brussels sprouts. Because we believe that when it comes to food, there’s no such thing as guilty pleasures. Just pleasures.
We use cookies on our website to give you the most relevant experience by remembering your preferences and repeat visits. By clicking “Accept”, you consent to the use of ALL the cookies.
This website uses cookies to improve your experience while you navigate through the website. Out of these, the cookies that are categorized as necessary are stored on your browser as they are essential for the working of basic functionalities of the website. We also use third-party cookies that help us analyze and understand how you use this website. These cookies will be stored in your browser only with your consent. You also have the option to opt-out of these cookies. But opting out of some of these cookies may affect your browsing experience.
Necessary cookies are absolutely essential for the website to function properly. These cookies ensure basic functionalities and security features of the website, anonymously.
Cookie
Duration
Description
cookielawinfo-checkbox-analytics
11 months
This cookie is set by GDPR Cookie Consent plugin. The cookie is used to store the user consent for the cookies in the category "Analytics".
cookielawinfo-checkbox-functional
11 months
The cookie is set by GDPR cookie consent to record the user consent for the cookies in the category "Functional".
cookielawinfo-checkbox-necessary
11 months
This cookie is set by GDPR Cookie Consent plugin. The cookies is used to store the user consent for the cookies in the category "Necessary".
cookielawinfo-checkbox-others
11 months
This cookie is set by GDPR Cookie Consent plugin. The cookie is used to store the user consent for the cookies in the category "Other.
cookielawinfo-checkbox-performance
11 months
This cookie is set by GDPR Cookie Consent plugin. The cookie is used to store the user consent for the cookies in the category "Performance".
viewed_cookie_policy
11 months
The cookie is set by the GDPR Cookie Consent plugin and is used to store whether or not user has consented to the use of cookies. It does not store any personal data.
Functional cookies help to perform certain functionalities like sharing the content of the website on social media platforms, collect feedbacks, and other third-party features.
Performance cookies are used to understand and analyze the key performance indexes of the website which helps in delivering a better user experience for the visitors.
Analytical cookies are used to understand how visitors interact with the website. These cookies help provide information on metrics the number of visitors, bounce rate, traffic source, etc.
Advertisement cookies are used to provide visitors with relevant ads and marketing campaigns. These cookies track visitors across websites and collect information to provide customized ads.