
We have expert advice on the best strategies for growing organic seeds. Get ready to learn all about selecting the right varieties, preparing the soil, planting and germinating, providing water and sunlight, as well as harvesting and storing your organic treasures.
It’s time to roll up our sleeves and get our hands dirty, because with these practical tips, your seedlings will be flourishing in no time.
Let’s dive into the wonderful world of organic seed growing together!
Key Takeaways
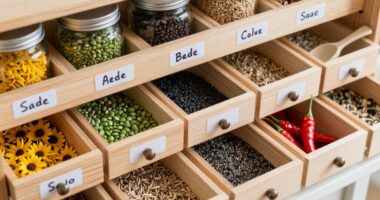
- Select reputable suppliers for high-quality organic seeds
- Prepare the soil by tilling, clearing debris, conducting soil tests, adjusting pH, and adding organic matter
- Sow and germinate the seeds by using a mix of organic potting soil and vermiculite, moistening the soil, pressing the seeds into the soil, and creating a humid environment for germination
- Provide water and sunlight by watering deeply and infrequently, applying organic mulch, monitoring soil moisture, and ensuring the plants receive at least 6-8 hours of direct sunlight daily

Back to The Roots Organic Seed Starting, Compressed Block expands to 12 Quarts, Made for Herbs, Veggies, Flowers
Includes Back to the Roots Compressed Seed Starting Potting Mix that expands to 12qt of soil. A balanced…
As an affiliate, we earn on qualifying purchases.
As an affiliate, we earn on qualifying purchases.
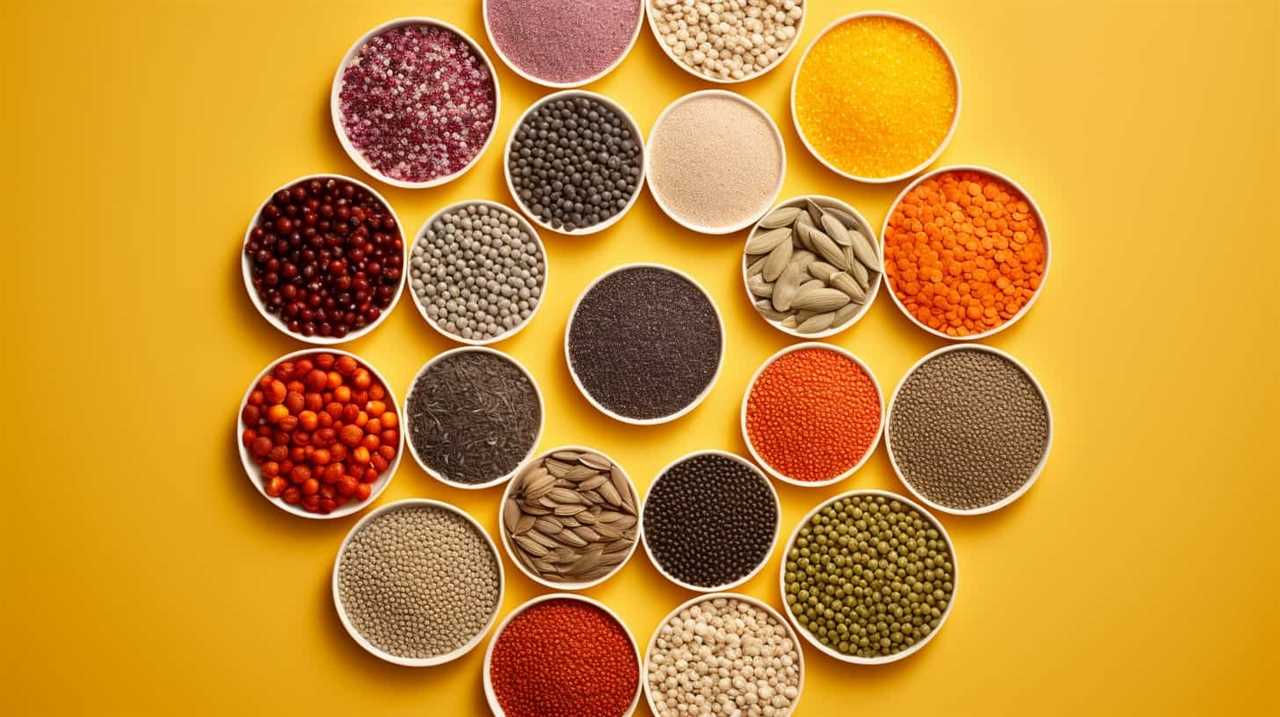
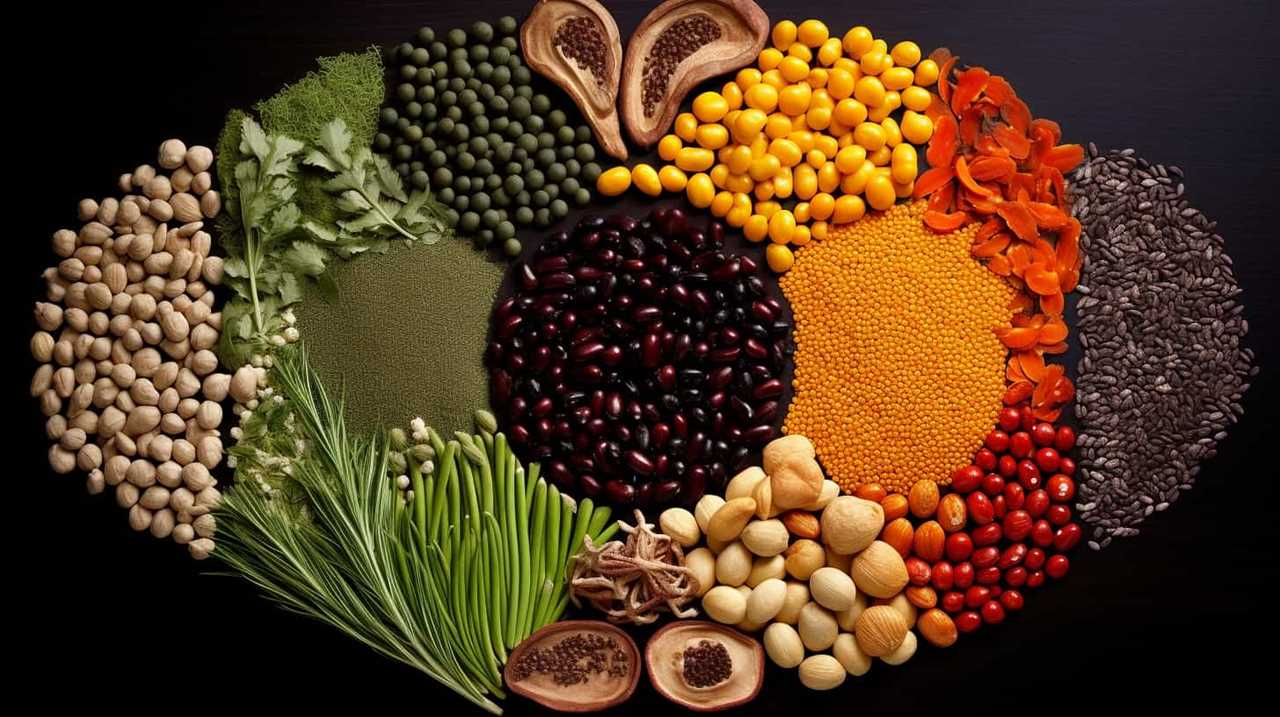
Selecting the Right Chia Seed Varieties
Which chia seed varieties should we choose for optimal organic growth?
When it comes to selecting the right chia seed varieties, it’s essential to consider two key factors: choosing reputable chia seed suppliers and understanding the nutritional benefits of chia seeds.
Firstly, selecting reliable suppliers ensures that we receive high-quality organic chia seeds that are free from pesticides and genetically modified organisms. Look for suppliers who have a track record of providing organic and sustainably sourced seeds.
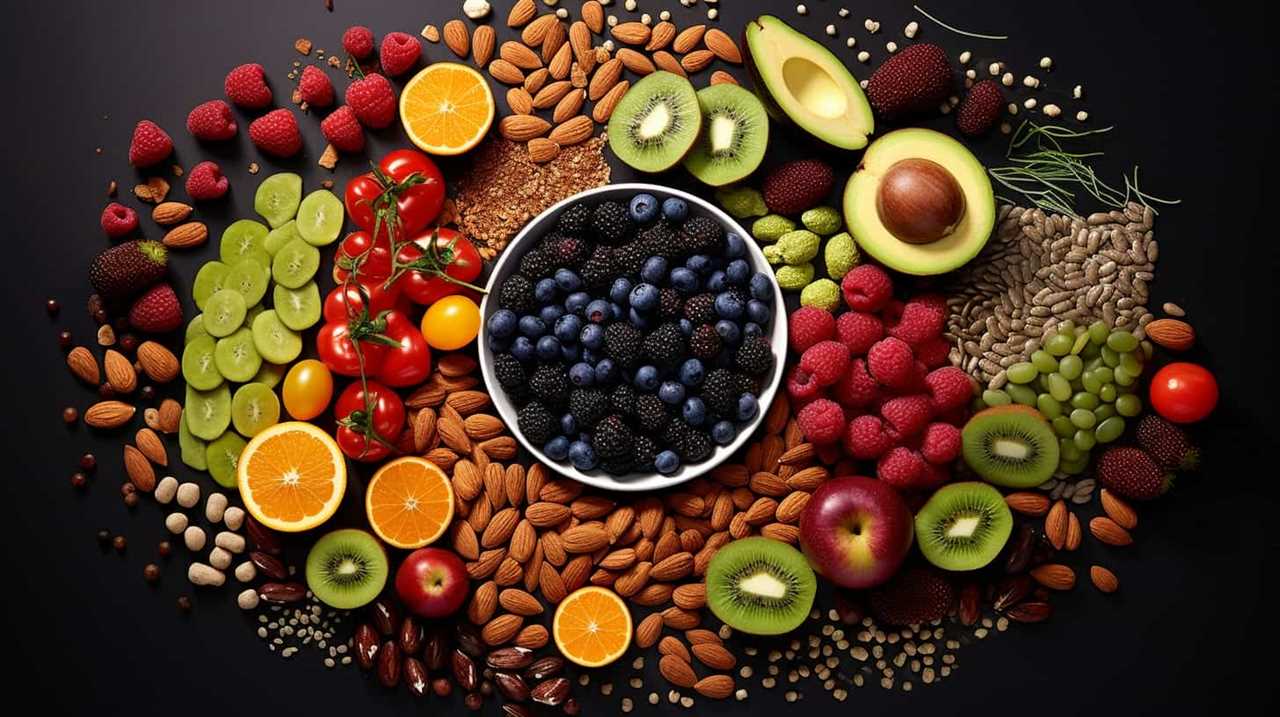
Secondly, understanding the nutritional benefits of chia seeds helps us make informed choices. Chia seeds are packed with essential nutrients like omega-3 fatty acids, fiber, and antioxidants. These nutrients support heart health, aid digestion, and provide a boost of energy.

Chia Seeds for Planting, 1000+ Seeds Per Packet,Herb/Flower, (Isla's Garden Seeds), Non GMO & Heirloom Seeds, Scientific Name: Salvia hispanica, Great Gift
Famous for its use in Chia Pets, this herb seed also gives many health benefits.
As an affiliate, we earn on qualifying purchases.
As an affiliate, we earn on qualifying purchases.
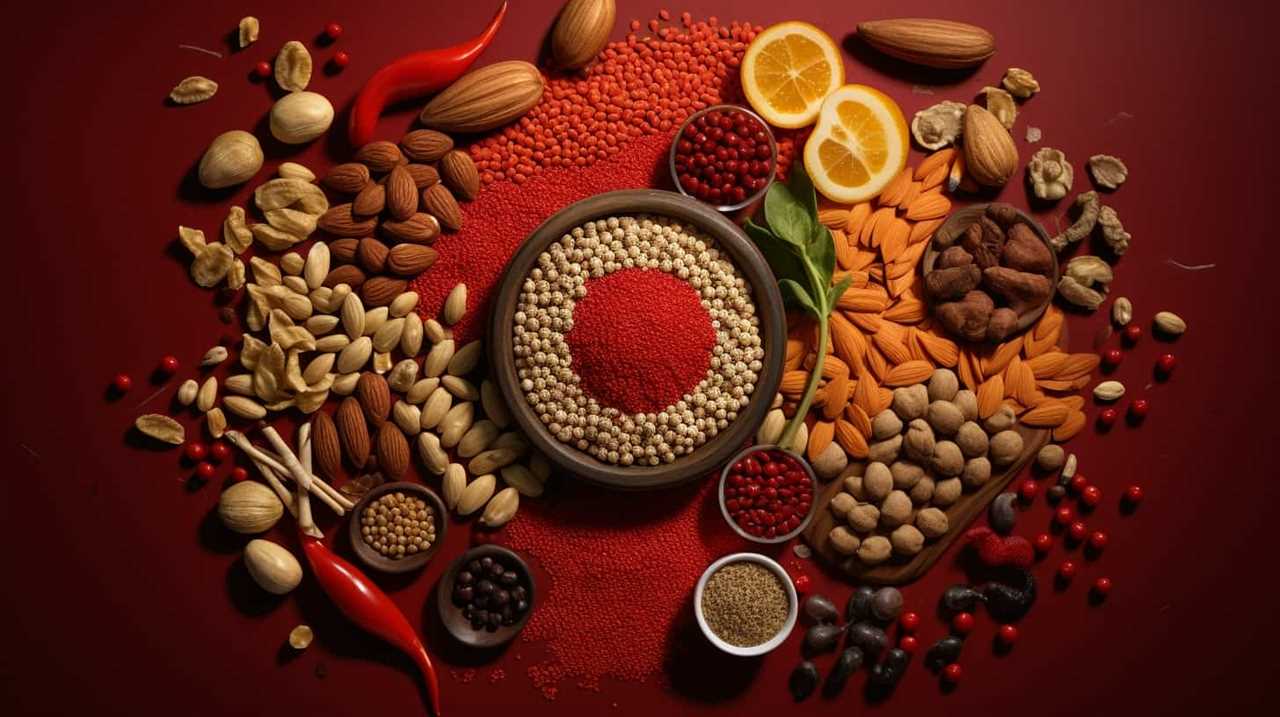
Preparing the Soil for Chia Seed Planting
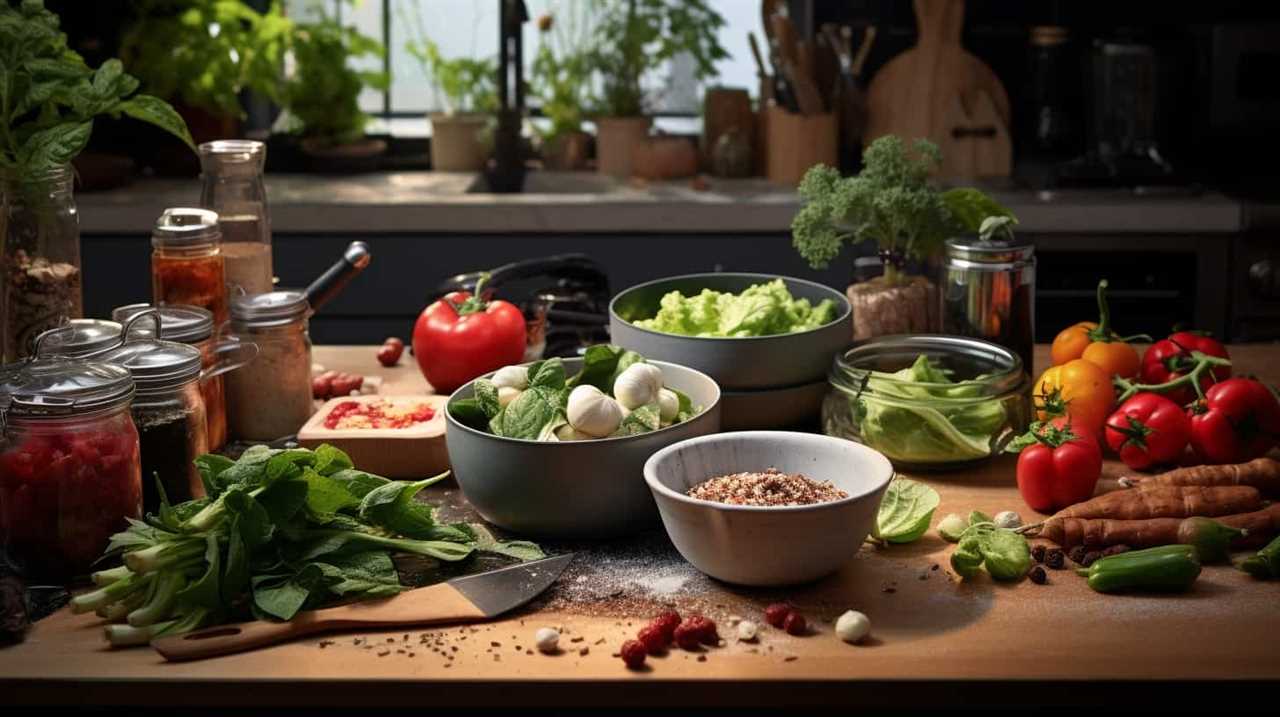
To ensure optimal organic growth of chia seeds, we need to properly prepare the soil for planting. Here are some soil preparation tips and organic fertilizers that can help you achieve healthy and productive chia plants:
-
Till the soil: Begin by tilling the soil to a depth of 6-8 inches. This will loosen the soil and improve aeration.
-
Remove weeds and debris: Clear the area of any weeds, rocks, or other debris that may hinder the growth of your chia plants.
-
Test the soil: Conduct a soil test to determine its pH level and nutrient content. Adjust the pH if necessary and add organic matter to improve soil fertility.
-
Add compost: Incorporate well-rotted compost into the soil to enhance its structure and provide essential nutrients.
-
Use organic fertilizers: Apply organic fertilizers such as compost tea, bone meal, or seaweed extract to provide a steady supply of nutrients to your chia plants.

MySoil Soil Test Kit, Unlock Your Lawn & Garden Potential, Complete & Accurate Nutrient and pH Analysis with Recommendations Tailored to Your Soil and Plant Needs
KNOW BEFORE YOU GROW | Grow the healthiest, sustainable lawn and garden with the most accurate and easy…
As an affiliate, we earn on qualifying purchases.
As an affiliate, we earn on qualifying purchases.
Sowing Chia Seeds and Ensuring Proper Germination
To ensure proper germination of chia seeds, we need to sow them using a mix of organic potting soil and vermiculite. Chia seeds are known for their numerous health benefits, including being a rich source of omega-3 fatty acids, fiber, and antioxidants.
When sowing chia seeds, it’s important to create a suitable environment for germination. Start by filling a seed tray or small pots with the organic potting soil and vermiculite mixture. Moisten the soil slightly before sprinkling the chia seeds evenly on the surface. Gently press the seeds into the soil, ensuring they’re in good contact with the moisture.
Cover the tray or pots with a plastic wrap to create a humid environment, which aids germination. Place the tray or pots in a warm area, preferably near a window with indirect sunlight. Keep the soil moist but not waterlogged by misting it regularly.
Within a week, you should start to see the chia seeds germinate. Once they’ve developed their first set of true leaves, you can transplant them to larger containers or into the garden.
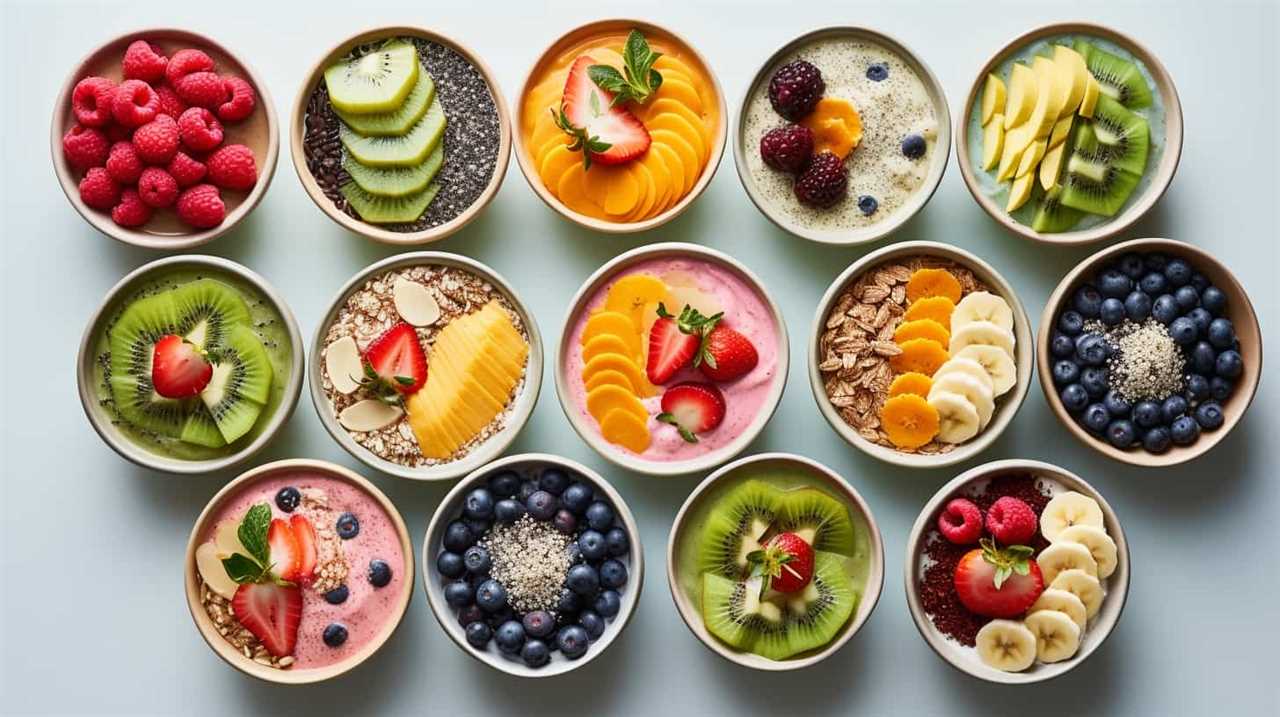
Don’t forget to explore various chia seed recipes to make the most of your homegrown chia seeds.
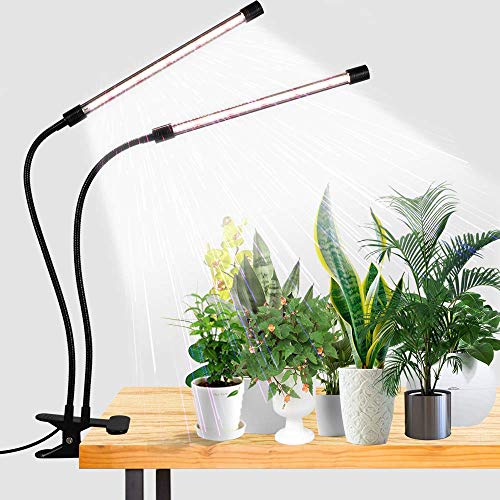
GooingTop LED Grow Light,6000K Full Spectrum Clip Plant Growing Lamp with White Red LEDs for Indoor Plants,5-Level Dimmable,Auto On Off Timing 4 8 12Hrs
6000K White Light – equipped with 10 Red + 74 White LEDs, this growing Lamp is similar to…
As an affiliate, we earn on qualifying purchases.
As an affiliate, we earn on qualifying purchases.
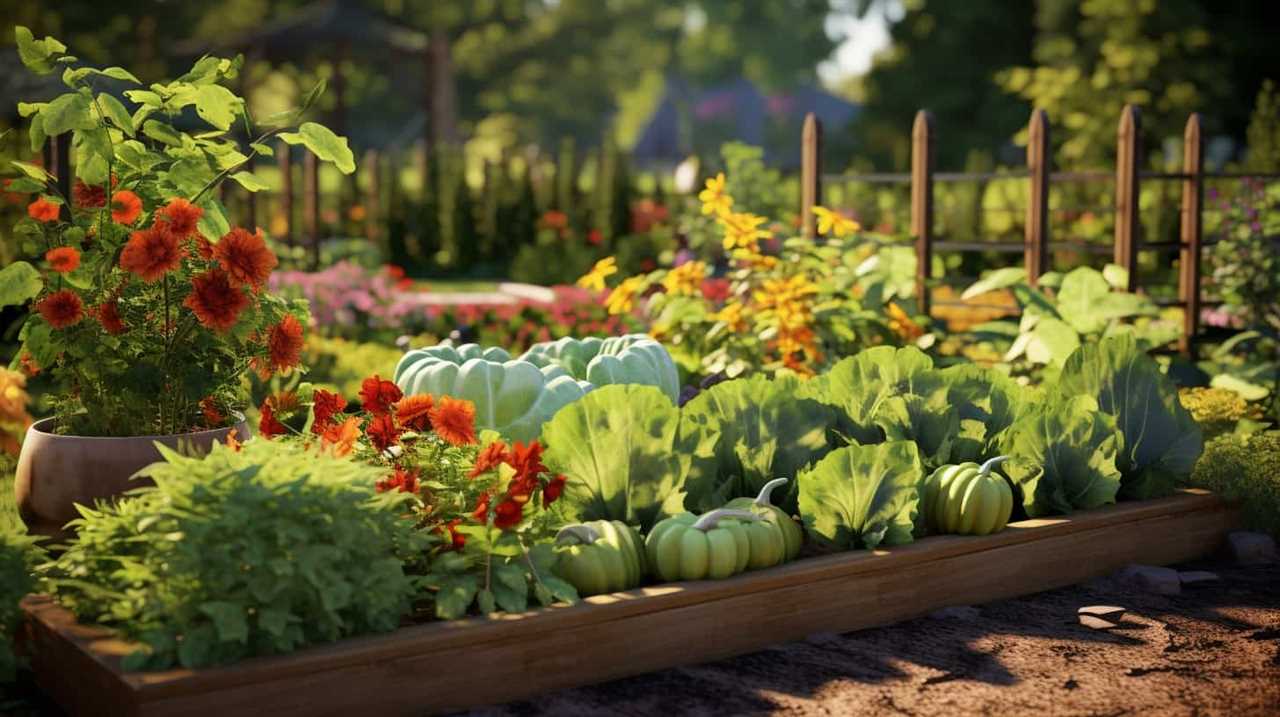
Providing Adequate Water and Sunlight for Chia Plants
Now let’s move on to the topic of providing adequate water and sunlight for chia plants.
When it comes to watering techniques, it’s important to strike a balance. Chia plants require consistent moisture, but overwatering can lead to root rot. Here are some tips to keep in mind:
-
Water deeply and infrequently: Instead of frequent light watering, give your chia plants a good soak once or twice a week. This encourages deep root growth and helps them withstand drought conditions.
-
Mulch to retain moisture: Apply a layer of organic mulch around the base of your chia plants to help retain moisture in the soil and reduce evaporation.
-
Monitor soil moisture: Use a moisture meter or simply stick your finger into the soil to check if it feels dry before watering again.
-
Provide adequate sunlight exposure: Chia plants thrive in full sun, so make sure they receive at least 6-8 hours of direct sunlight each day.

-
Protect from excessive heat: In extremely hot climates, provide some afternoon shade to prevent sunburn and heat stress.
Following these watering techniques and ensuring sufficient sunlight exposure will help your chia plants grow strong and healthy.
Harvesting and Storing Organic Chia Seeds
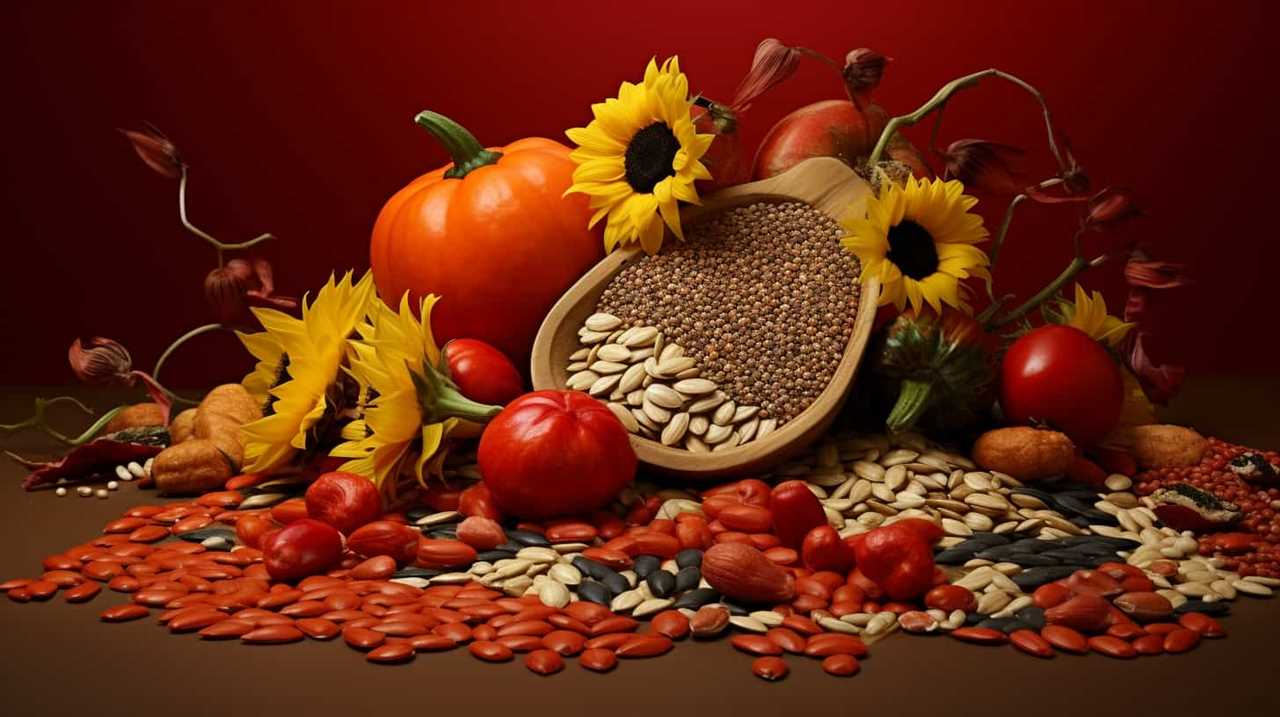
We will discuss the steps for harvesting and storing organic chia seeds. Harvesting chia seeds is relatively easy. When the chia plant’s flowers have dried and turned brown, it’s time to harvest the seeds. Gently cut the seed heads and place them in a paper bag. Hang the bag in a dry, well-ventilated area for about two weeks to allow the seeds to fully dry. Once the seeds are dry, they can be stored in airtight containers. It’s important to store chia seeds in a cool, dark place to maintain their freshness and nutritional value. Chia seeds are a great source of omega-3 fatty acids, fiber, and protein. They can be added to smoothies, cereals, or baked goods for a nutritious boost.
| Steps for Harvesting and Storing Organic Chia Seeds |
|---|
| Harvest the seed heads when flowers have dried and turned brown |
| Place seed heads in a paper bag |
| Hang the bag in a dry, well-ventilated area for about two weeks to allow the seeds to dry |
| Store the dried chia seeds in airtight containers in a cool, dark place |
Frequently Asked Questions
How Long Does It Take for Chia Seeds to Germinate?
Chia seeds typically take 7-14 days to germinate. The optimal time to sow chia seeds is during the spring or early summer when the soil temperature is consistently above 60°F.
What Is the Best Time of Year to Sow Chia Seeds?
The best time of year to sow chia seeds depends on the climate and region. We’ve found that spring is generally a good time. It’s important to ensure you have the best soil for chia seeds and use proper chia seed propagation techniques.
Can Chia Plants Survive in Partial Shade?
Chia plants can thrive in partial shade, but they prefer full sun. To ensure optimal growth, provide at least 4-6 hours of direct sunlight. Consider planting chia seeds in containers that can be moved to sunnier spots throughout the day.
How Often Should I Water Chia Plants?
We’ve found that the best chia plant care includes a consistent watering schedule. Depending on the conditions, it’s generally recommended to water chia plants every 2-3 days to ensure they receive adequate hydration for healthy growth.
How Do I Know When Chia Seeds Are Ready for Harvesting?
When it comes to harvesting chia seeds, we have mastered the art. Our chia seed harvesting techniques are top-notch. We’ll teach you everything you need to know to ensure a successful harvest. Let’s get started!
Conclusion
In conclusion, growing organic seeds requires careful selection of varieties, proper soil preparation, and attention to germination, water, and sunlight.
It’s important to harvest and store the seeds properly to maintain their organic integrity.
Remember, as the saying goes, ‘You reap what you sow,’ so by following these methods, you can enjoy the fruits of your labor and promote a healthier, more sustainable lifestyle.
Happy gardening!