To soak and sprout chia seeds at home, start by placing about two tablespoons in a jar or tray and cover them with roughly three times that amount of water. Let them soak for at least 30 minutes, then drain and rinse thoroughly. Keep rinsing twice daily in warm, dark spots to promote sprouting. Once small shoots appear, transfer them to indirect sunlight. Continue caring for your sprouts, and you’ll soon have a nutritious addition to your diet.
Key Takeaways
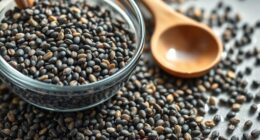
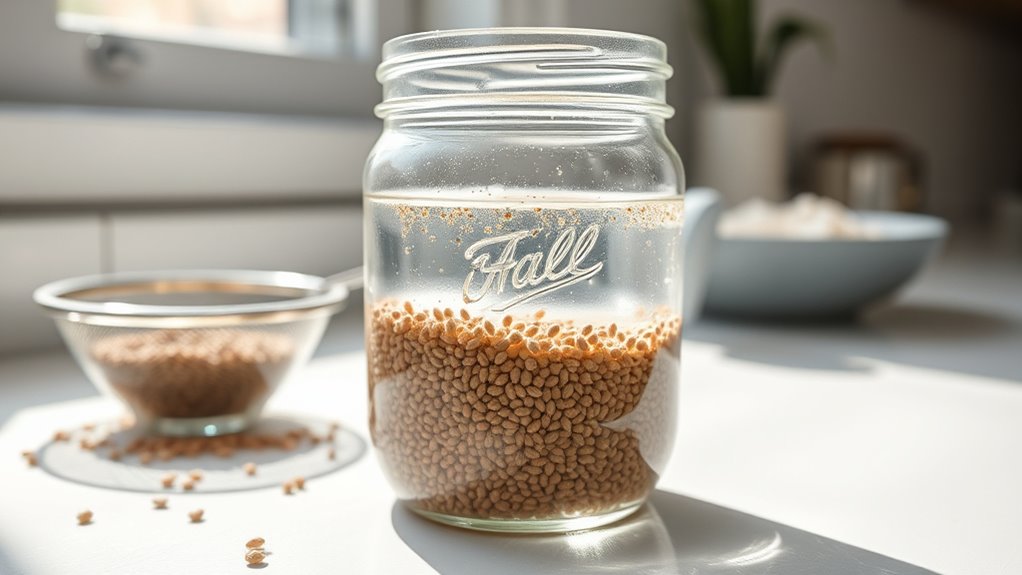
- Rinse high-quality chia seeds and place two tablespoons in a jar or tray, covering with three times their volume of water.
- Soak seeds for at least 30 minutes, then drain excess water thoroughly to prevent mold.
- Rinse seeds twice daily with fresh water, maintaining proper moisture and cleanliness.
- Keep seeds in a warm, dark spot during initial germination, then move to indirect sunlight once small shoots appear.
- Harvest sprouts at about a quarter-inch length for added nutrition, ensuring proper rinsing and airflow to prevent mold.

Soaking and sprouting chia seeds is a simple process that enhances their nutritional benefits and makes them easier to digest. When you soak chia seeds, they absorb water and swell, revealing more nutrients and improving their bioavailability. Sprouting takes this a step further by encouraging the seeds to develop small shoots, which can increase the availability of certain vitamins and enzymes. This process not only boosts the nutritional profile but also introduces a fresh, crunchy texture to your meals. To get started, you’ll want to understand some basic growing techniques that guarantee a successful sprouting experience.
First, choose high-quality chia seeds from a reputable supplier to guarantee purity and freshness. While soaking is straightforward, sprouting requires a bit more attention. Start by placing about two tablespoons of chia seeds in a jar or a sprouting tray. Cover the seeds with about three times as much water, allowing them to soak for at least 30 minutes. During this time, the seeds will absorb water and expand. After soaking, drain any excess water thoroughly to prevent mold growth. Rinse the seeds with fresh water and drain again. This rinsing process is vital because it prevents bacteria buildup and keeps your sprouting environment clean.
Growing techniques for sprouting chia seeds involve maintaining proper moisture and airflow. Place the seeds in a warm, dark spot initially to encourage germination, then move them to indirect sunlight once small shoots appear. Light is essential for chlorophyll development, which enhances their nutritional benefits such as increased vitamin content. Keep the seeds moist by rinsing them with water twice a day, ensuring they never dry out or become waterlogged. Proper drainage is key to preventing mold or rot, so make sure your container has good airflow and drainage holes if using a tray. Additionally, understanding the health risks associated with seed consumption can help you make informed choices about sprouting and eating chia seeds.
Maintain moisture and airflow; start in darkness, then move to indirect sunlight for healthy chia sprout growth.
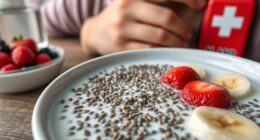
You’ll notice tiny sprouts emerging within a few days, typically around three to five. Once the sprouts are about a quarter-inch long, they’re ready to eat. You can include sprouted chia seeds in salads, sandwiches, or smoothies for added crunch and nutrition. The sprouting process not only makes the nutrients more accessible but also reduces anti-nutrients that can interfere with nutrient absorption. By mastering these growing techniques and understanding the nutritional benefits, you transform simple chia seeds into a versatile, health-boosting addition to your diet.
Frequently Asked Questions
How Long Can Soaked Chia Seeds Be Stored Safely?
You can safely store soaked chia seeds for about 5 to 7 days in the refrigerator. Keep them in an airtight container to prevent nutrient degradation and contamination. After this period, they may lose some nutrients and develop an off smell or taste. Always check for any signs of spoilage before consuming, and if in doubt, discard them to ensure your health and safety.
Can I Reuse Soaked Chia Seeds for Multiple Days?
You can reuse soaked chia seeds for a couple of days if you store them properly, but seed preservation depends on keeping them refrigerated and covered. To maximize sprouting techniques, rinse the seeds thoroughly each day to prevent mold or bacterial growth. Note that the seeds may lose their sprouting ability over time, so it’s best to use them within 48-72 hours for ideal freshness and safety.
Do Soaked Chia Seeds Lose Nutrients Over Time?
Soaked chia seeds do retain most of their nutrients, but some nutrient loss can occur over time, especially if you don’t store them properly. To maximize nutrient retention and seed preservation, keep soaked seeds refrigerated and consume them within a few days. Proper storage helps maintain their nutritional value and prevents spoilage, ensuring you get the most health benefits from your soaked chia seeds each time you enjoy them.
Are There Any Allergies Related to Soaking or Sprouting Chia Seeds?
You might experience allergy symptoms if you have a sensitivity to chia seeds, especially since about 1 in 50 people report food allergies. Soaking or sprouting chia seeds doesn’t eliminate allergy risks and could lead to cross reactivity issues with other seeds or nuts. If you notice symptoms like itching, swelling, or difficulty breathing after consuming soaked or sprouted chia seeds, consult a healthcare professional.
What Are Common Mistakes to Avoid When Soaking Chia Seeds?
When soaking chia seeds, avoid over soaking, which can lead to a slimy texture and potential spoilage. Make sure you rinse them properly after soaking to remove any residues and prevent mold growth. Don’t leave seeds in water too long, as errors in timing can affect their quality. Also, use clean containers and fresh water to guarantee your chia seeds stay healthy and safe to eat.
Conclusion
Now that you know how to soak and sprout chia seeds, you’re planting the seeds for a healthy habit. Think of it as nurturing tiny green miracles that will grow into powerful, nutrient-packed additions to your diet. With just a little patience and care, you’ll watch these little seeds blossom into vibrant, life-giving sprouts. So go ahead, get your hands dirty, and enjoy the journey of turning tiny seeds into a garden of wellness.