
To make seed starting less stressful, organize your shed with designated sections using shelves and labeled containers for tools, soil, and trays. Improve lighting with energy-efficient LEDs and clean windows for maximum daylight. Add climate control like small heaters or fans to stabilize temperature and humidity. Install hooks or pegboards for easy tool access, and include a sturdy workbench for work comfort. Want to discover more about transforming your shed into the perfect seed-starting space?
Key Takeaways
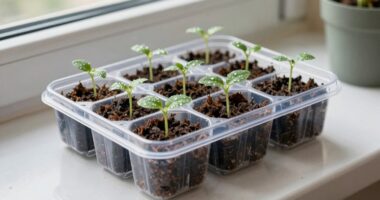
- Organize supplies with labeled containers and designated sections for quick, easy access during seed starting.
- Improve lighting with energy-efficient LEDs and clean windows to ensure optimal visibility and plant monitoring.
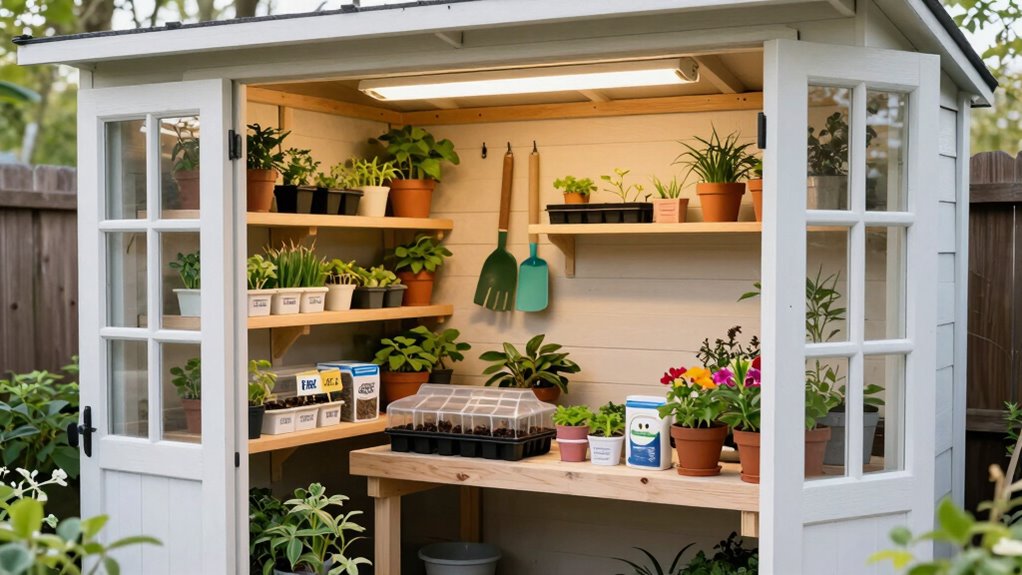
- Add a sturdy workbench and hooks for tools to create an efficient, clutter-free workspace.
- Incorporate climate control devices like heaters and dehumidifiers to maintain ideal seed-starting conditions.
- Enhance ventilation and insulation to promote healthy seedlings and prevent mold or damping-off issues.
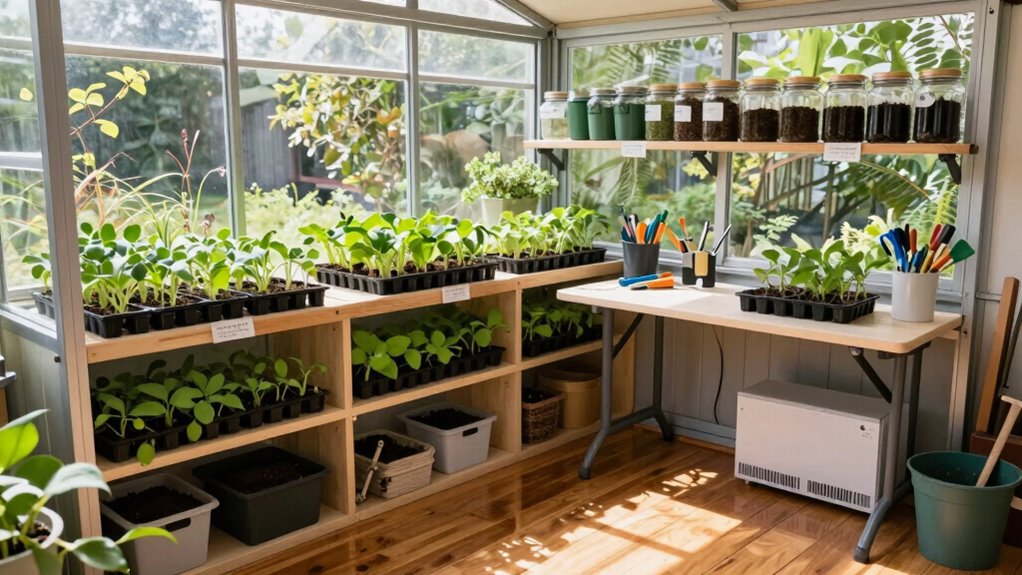
If your garden shed has seen better days, upgrading it can transform your outdoor space and make storage more functional. When it comes to seed starting, a well-organized shed can save you time and reduce stress. One of the most effective ways to achieve this is by focusing on compartment organization. Instead of tossing all your seed trays, pots, and tools together, create designated sections within your shed. Use shelves, clear bins, and labeled containers to keep everything sorted. For example, dedicate one area for seed trays, another for gardening tools, and a separate space for fertilizers and soil amendments. This setup allows you to quickly locate what you need without rummaging through clutter, making your seed-starting process more efficient and enjoyable. Incorporating landscaping elements around your shed can also enhance its natural appeal and create a more inviting workspace. Lighting improvements are another crucial aspect of upgrading your shed. Proper lighting helps you see clearly, especially when working early in the morning or late in the evening. Consider installing energy-efficient LED lights that can be positioned to eliminate shadows and brighten your workspace. If your shed has windows, clean them regularly to maximize natural light. Adding a window-mounted solar light can also supplement daylight and make evening tasks easier. Better lighting not only reduces eye strain but also helps you monitor your seedlings’ health, ensuring you catch any issues early. When choosing lighting, aim for a combination of ambient and task lighting to create a welcoming, functional environment. Additionally, understanding art movements can inspire creative touches or themed organization within your shed, making it a more inspiring space for gardening. To further optimize your seed-starting environment, consider climate control solutions like small space heaters or dehumidifiers, which can help maintain ideal conditions for delicate seedlings. Using proper ventilation** techniques can also improve airflow and prevent issues like mold or damping-off disease. Regularly researching plant care best practices can also help you improve your seed-starting success and overall gardening outcomes. Beyond organization and lighting, think about how you can make your shed more comfortable and practical for seed starting. Add a small workbench or table with a sturdy surface for potting and transplanting. Install hooks** or pegboards on the walls to hang tools, watering cans, and gloves, freeing up valuable floor space. Consider insulating the shed if you’re starting seeds early in the season when temperatures can dip. This will protect tender seedlings and create a more stable environment. Also, think about ventilation—good airflow prevents mold and keeps your seedlings healthy.
Upgrading your garden shed isn’t just about aesthetics; it’s about creating a dedicated, efficient space for seed starting that reduces stress and enhances productivity. With compartment organization, your tools and supplies stay tidy and accessible. Lighting improvements make working in your shed easier and safer, especially during darker hours. When you combine these upgrades, seed starting becomes less of a hassle and more of an enjoyable part of your gardening routine. Before long, your shed will be a well-organized hub that simplifies your gardening tasks, letting you focus on nurturing healthy, vibrant plants.

keomaisyto Garden Tool Organizer, Heavy Duty Yard Tool Tower Rack for Garage Organization and Storage, 3 Tier Utility Garden Tool Rack with hooks for Garden/Shed/Garage/Yard/Basement/Lawn
【Three-sided Structure】Tri-sided gardening tool rack that integrates shelves, large tool slots, small tool racks, baskets, and hooks. The…
As an affiliate, we earn on qualifying purchases.
As an affiliate, we earn on qualifying purchases.
Frequently Asked Questions
How Much Does the Upgrade Typically Cost?
The upgrade typically costs between $200 and $500, depending on your garden shed’s size and the features you choose. To manage cost considerations, you should plan your budget carefully, prioritizing essential upgrades like improved lighting or shelving. By doing so, you can maximize your seed-starting space without overspending, ensuring your garden shed becomes a stress-free seed-starting zone within your budget constraints.
What Tools Are Needed for the Upgrade?
You’ll need basic tools like a drill, screwdriver, and pruning shears to upgrade your shed, creating a space where garden aesthetics meet tool organization. While a fresh coat of paint and shelving enhance visual appeal, these tools guarantee efficiency and ease in seed starting. The juxtaposition of beauty and functionality transforms your shed into a practical yet inviting workspace, making gardening less stressful and more enjoyable.
How Long Does the Installation Process Take?
The installation process typically takes about one to two days, depending on your garden layout and shed insulation needs. You’ll start by preparing the shed, which involves clearing space and evaluating insulation, then installing the necessary insulation panels and ventilation systems. If you have a straightforward layout, it might take less time. Be patient and follow your plan carefully to guarantee everything fits perfectly and creates a suitable seed-starting environment.
Can the Shed Be Used Year-Round?
Yes, you can use the shed year-round for seasonal gardening, especially if you add proper shed insulation. Insulating the shed helps regulate temperatures, making it suitable for seed starting in colder months and protecting plants during hot seasons. With the right setup, your shed becomes a versatile gardening space, allowing you to extend your growing season and enjoy gardening all year long without stress.
Are There Any Safety Concerns With the Upgrade?
Yes, there are safety concerns with the upgrade, but you can address them with proper safety precautions. Guarantee proper ventilation to avoid mold and fumes, and use hazard mitigation strategies like secure wiring and fire-resistant materials. Keep tools organized to prevent accidents, and wear protective gear when handling chemicals or electrical components. Regularly inspect the shed for hazards, maintaining a safe environment so your seed-starting process remains stress-free and secure.

Grow Light Bulbs, Briignite LED Grow Light Bulb A19 Bulb, Full Spectrum Grow Light Bulb, Plant Light Bulbs E26 Base, 11W Grow Bulb 100W Equivalent, Grow Light for Indoor Plants, Seed Starting, 2Pack
Full Spectrum & Natural Light: A19 full spectrum grow light appears 4000K white to the eye but has…
As an affiliate, we earn on qualifying purchases.
As an affiliate, we earn on qualifying purchases.
Conclusion
With your shed now transformed into a seed-starting sanctuary, you’ve revealed the secret to a smoother gardening season—like Daedalus crafting wings to escape chaos. As you nurture tiny seedlings into thriving plants, remember that this upgrade isn’t just a change of space; it’s a gateway to patience, growth, and resilience. Embrace this new chapter, knowing that like the mythic garden of the Hesperides, your efforts will bear sweet, bountiful fruit.
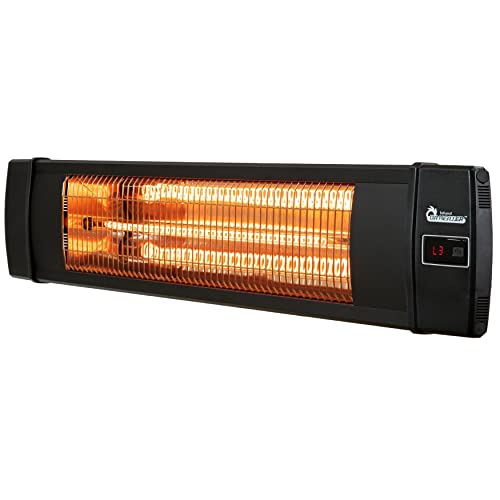
DR. INFRARED HEATER Portable Infrared Indoor and Outdoor Space Heater for Patio, Garage, Commercial & Residential With Remote Control, Without Thermostat, Black
INDOOR and OUTDOOR HEATER – Heater is IP55 approved for both indoor and outdoor use – perfect for…
As an affiliate, we earn on qualifying purchases.
As an affiliate, we earn on qualifying purchases.

Spampur Peg Board, 4 Pack Metal Pegboard Panels with 50 Hooks, Black Pegboards Wall Organizer, Heavy Duty Peg Board for Walls Home, Garage Tool Storage, Office Organization, Craft Room, Kitchen
METAL NAILBOARD: Our peg board panels are made of high quality steel with a powder coated finish that…
As an affiliate, we earn on qualifying purchases.
As an affiliate, we earn on qualifying purchases.